K-WANG
+086-15305925923
Service expert in industrial control field!


Product
Article
NameDescriptionContent
Adequate Inventory, Timely Service
pursuit of excellence


Ship control system
Equipment control system
Power monitoring system
Brand
Product parameters
- Telephone:+86-15305925923
- contacts:Mr.Wang
- Email:wang@kongjiangauto.com
Description
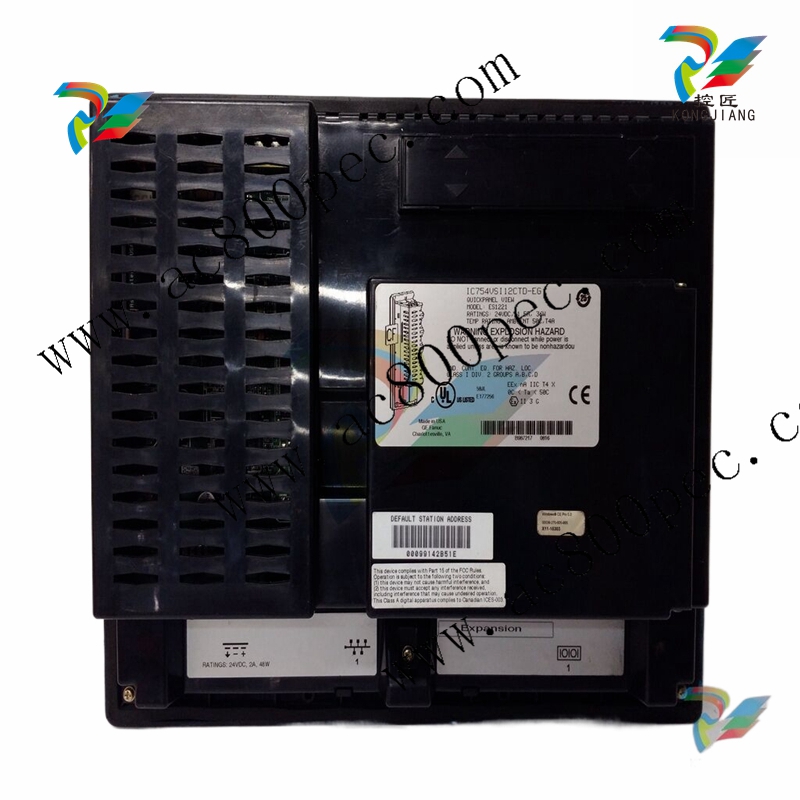
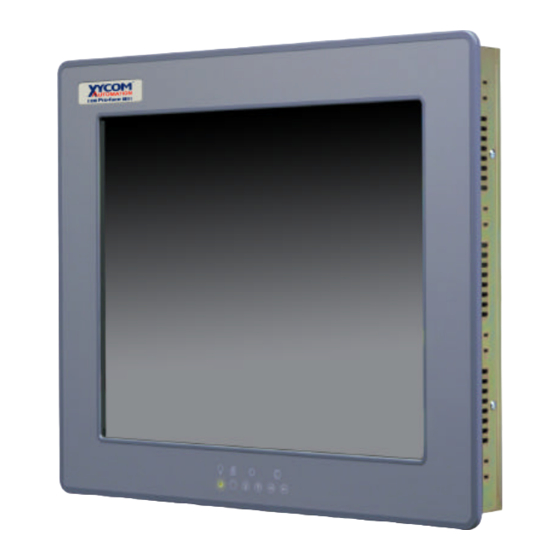
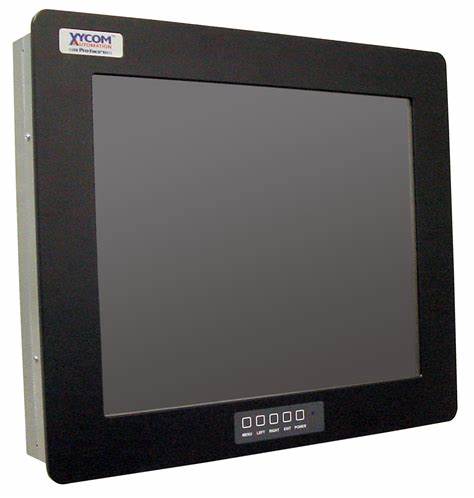
Congratulations on your purchase of a QuickPanel View, the most advanced
compact HMI computer available. The QuickPanel View is available in different
configurations to suit your requirements. Equally at home in a networked
environment or as a stand-alone unit, the QuickPanel View is the ideal solution for
factory floor HMI.
GE IC754VBI10MTD 10/12QuickPanel View
Powered by Microsoft Windows® CE .NETTM, today’s embedded operating system
of choice, the QuickPanel View provides a fast track for application program
development. The commonality with other versions of Windows simplifies porting
your existing program code. Another benefit of Windows CE is the familiarity of
the user interface, shortening the learning curve for operators and developers alike.
The availability of third-party application software makes this operating system
even more attractive.
The 10"/12" QuickPanel View is an all-in-one microcomputer designed for
maximum flexibility. The design, based on an advanced Intel® microprocessor,
brings together a high-resolution touch-screen operator interface with a variety of
I/O options. With many standard ports and expansion busses from which to
choose, you can connect to most industrial equipment.
The QuickPanel View is equipped with several memory types to satisfy even the
most demanding applications. A 32MB section of DRAM is split between the
operating system, an object store, and application memory. A 32MB section of
non-volatile FLASH memory, functioning as a virtual hard drive, is divided equally
between the operating system and persistent storage for application programs. The
retentive memory consists of 512 KB of battery-backed SRAM for data storage,
ensuring your valuable data will never be lost, even during a power failure.
The many features of the QuickPanel View make it an obvious choice for a world
of applications. Your smart choice will provide reliable operation for years to
come
GETTING STARTED
Basic Setup
Your 10" or 12" QuickPanel View is shipped ready for use after a few configuration
steps. To power up all you need to do is connect a DC power supply via the
supplied quick-connect plug. Depending on your application, you may also want
to configure communications ports (see page 28) and expansion adapters (see
page 39).
Caution - Electrical Shock Hazard: To avoid personal injury or damage to
equipment, ensure that the DC supply is disconnected from power and that the
leads are not energized before attaching them to the unit's power supply plug.
To connect a DC power supply
1. Using the three screw terminals shown in the following diagram, attach a 24VDC, 48W power supply to the plug
supplied with the QuickPanel View (see specifications on page 49 for conductor size requirements).
2. Insert the plug into the power supply socket and securely tighten the attaching screws.
Optional Ethernet Connection Optional Expansion I/O
Power Supply
Power Supply Socket
Power Supply Plug
Insert leads in screw end
QuickPanel View Runtime Setup
To download a Machine Edition application to a QuickPanel View unit, you must
set up a data link between your development workstation and the QuickPanel unit.
For more information, see “Ethernet” (page 35) and look up “Downloading a
Machine Edition Project” in the Machine Edition online help.
Startup
When you first start up the QuickPanel View, a few configuration steps are
necessary.
To start the QuickPanel View
1. Apply DC power to the QuickPanel View.
Once power is applied, the QuickPanel View begins initializing. The first thing to
appear on the display is the splash screen.
2. To skip running any programs included in the StartUp folder, tap Don’t run StartUp programs.
The splash screen disappears automatically after about 5 seconds. The Windows
CE desktop then becomes visible.
3. Tap Start, point to Settings and then tap Control Panel.
4. In the Control Panel, double-tap Display to configure the LCD display (see page 21).
5. In the Control Panel, double-tap Stylus to configure the touch screen (see page 23).
6. In the Control Panel, double-tap Date and Time to configure the system clock (see page 47).
7. In the Control Panel, double-tap Network and Dial-up Connections to configure network settings (see
page 36).
8. On the desktop, double-tap Backup to save any new settings through a power cycle (see page 12).
IC754VGI10MTD
IC754VSI10MTD
IC754VBI12CTD
IC754VGI12CTD
IC754VSI12CTD
IC754VSI12MTD
IC754VBI12MTD
IC754VGI12MTD
To avoid gasket degradation, limit repeated insertions or removals of the unit and
retightening of the mounting clips. For full protection, always use a fresh gasket.
The unit will not fit through this cutout with a CF card inserted in the port, with any
cables connected, or with the power supply plug inserted in the socket.
To secure the QuickPanel View to a panel, use the 10 included mounting clamps.
They hook into openings located on the top, bottom, and sides of the housing.
To mount the QuickPanel View in a panel
1. Insert the unit into the panel cutout (without a CF card in the CF port).
2. Insert the hook of each mounting clamp into the housing openings as shown below.
3. Ensure that the gasket is properly seated in the bezel channel and firmly tighten the clamp screws.
Note: The torque range for the mounting clamp screws is 2.6-4.4 inch/lbs
(0.3-0.5 Nm)
The mounting clamps hold the unit in place by tension alone. No drilling is
Purchase history
| User name | Member Level | Quantity | Specification | Purchase Date |
|---|
Total 0 Record
Customer Reviews
Satisfaction :
5 Stars
No evaluation information


-
 ABB V-Contact VSC Medium voltage vacuum contactors
 -
 ABB 3BHE004385R0001 UNS 0884a, V1:Current Sensor 2000A
 -
 ABB UAD206A101 Programmable Logic Controller
 -
 ABB ACS800-04/U4 driver module
 -
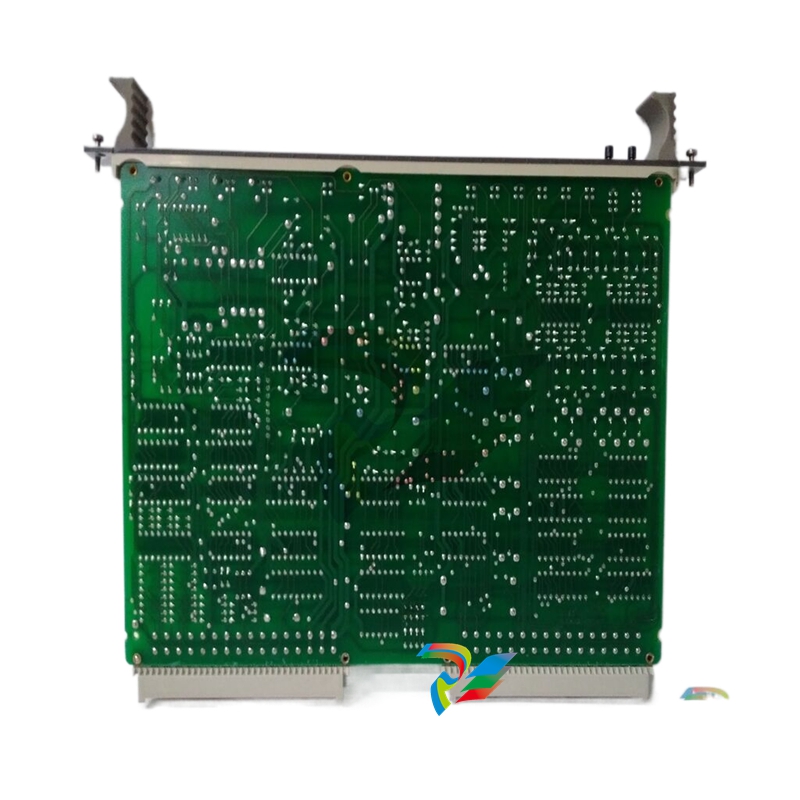 ABB UAD149A0011 3BHE014135R0011 Controller Module
 -
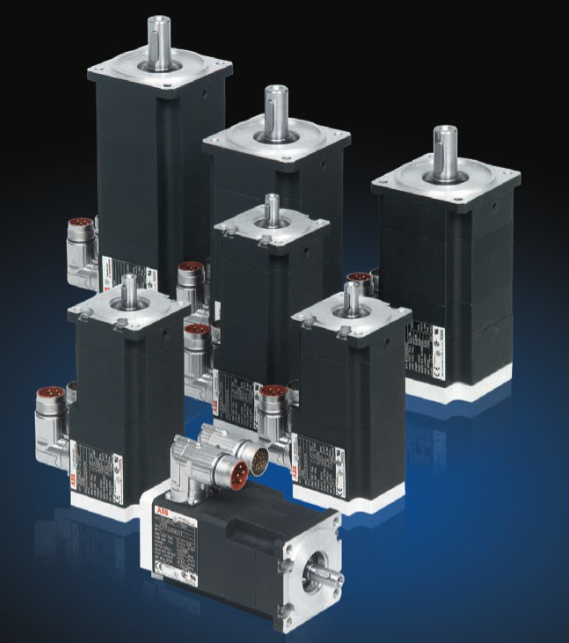 ABB BSM series AC servo motor
 -
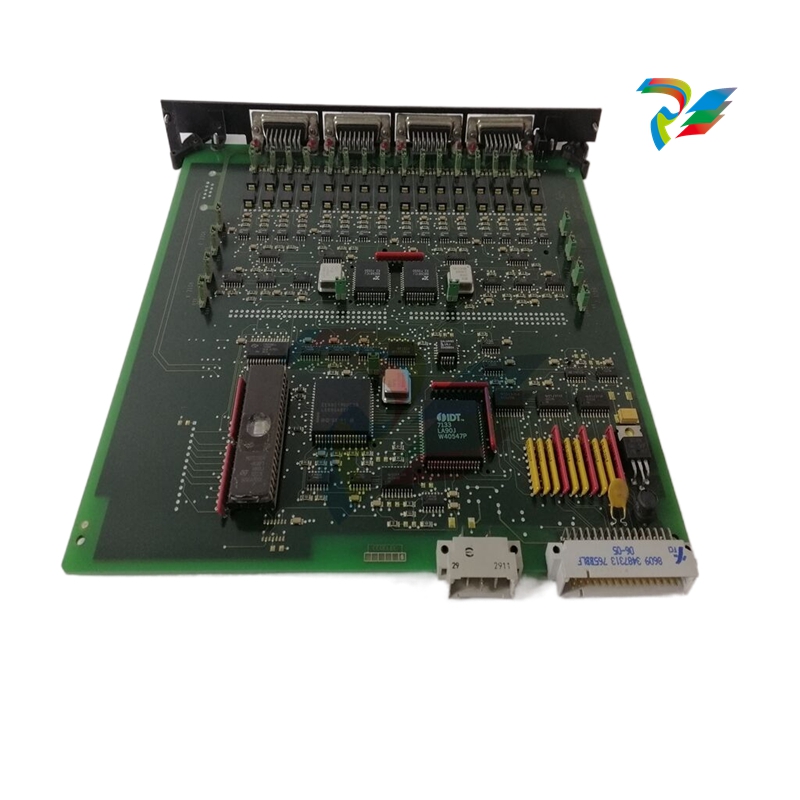
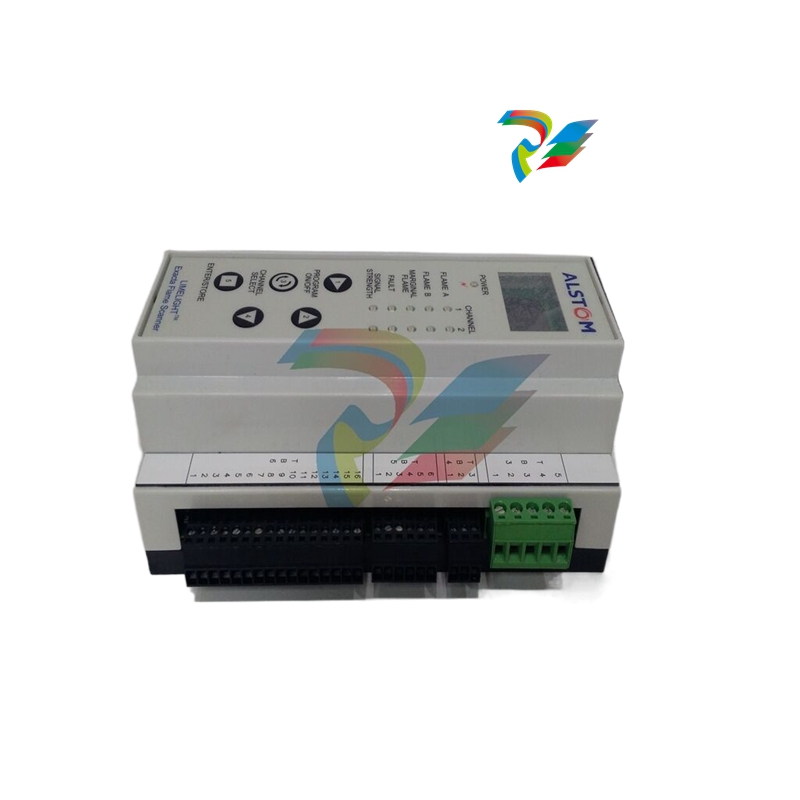
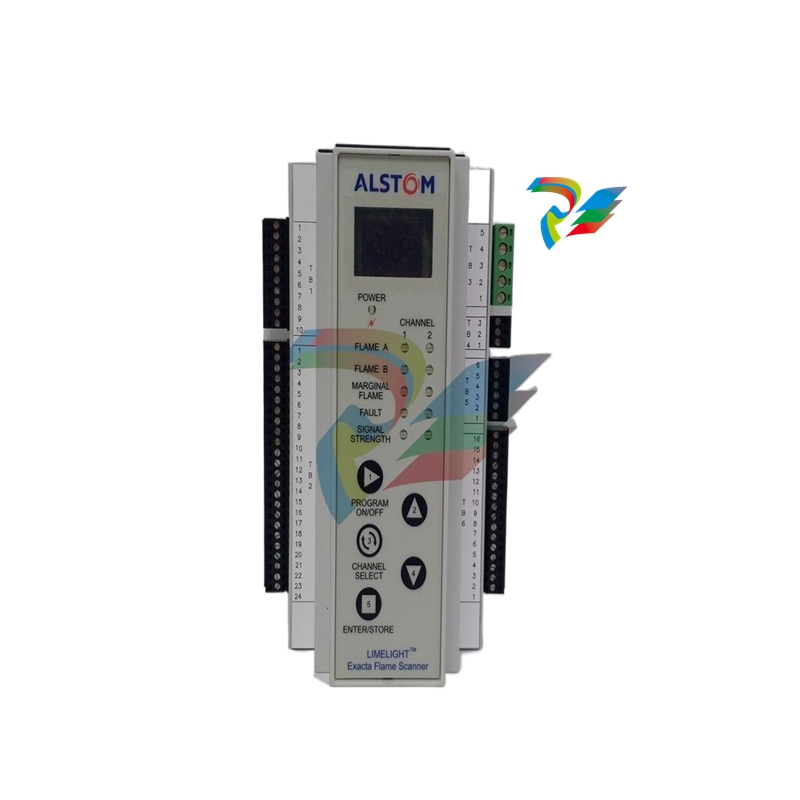
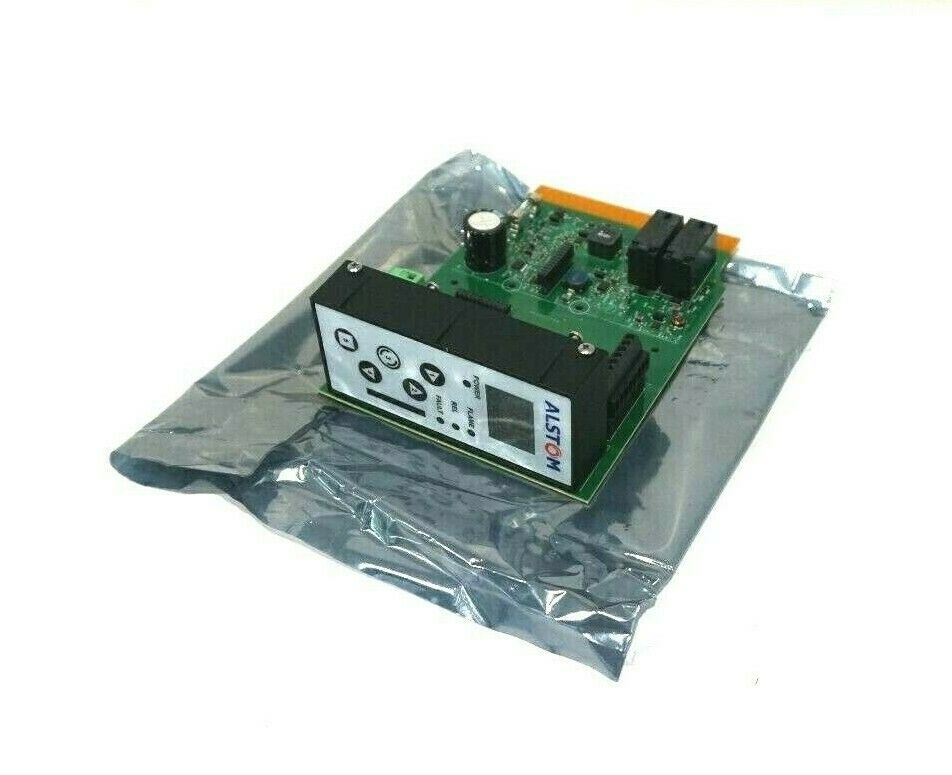 ALSTOM DFI-150-0003- Limelight Diagnostic Board
 -
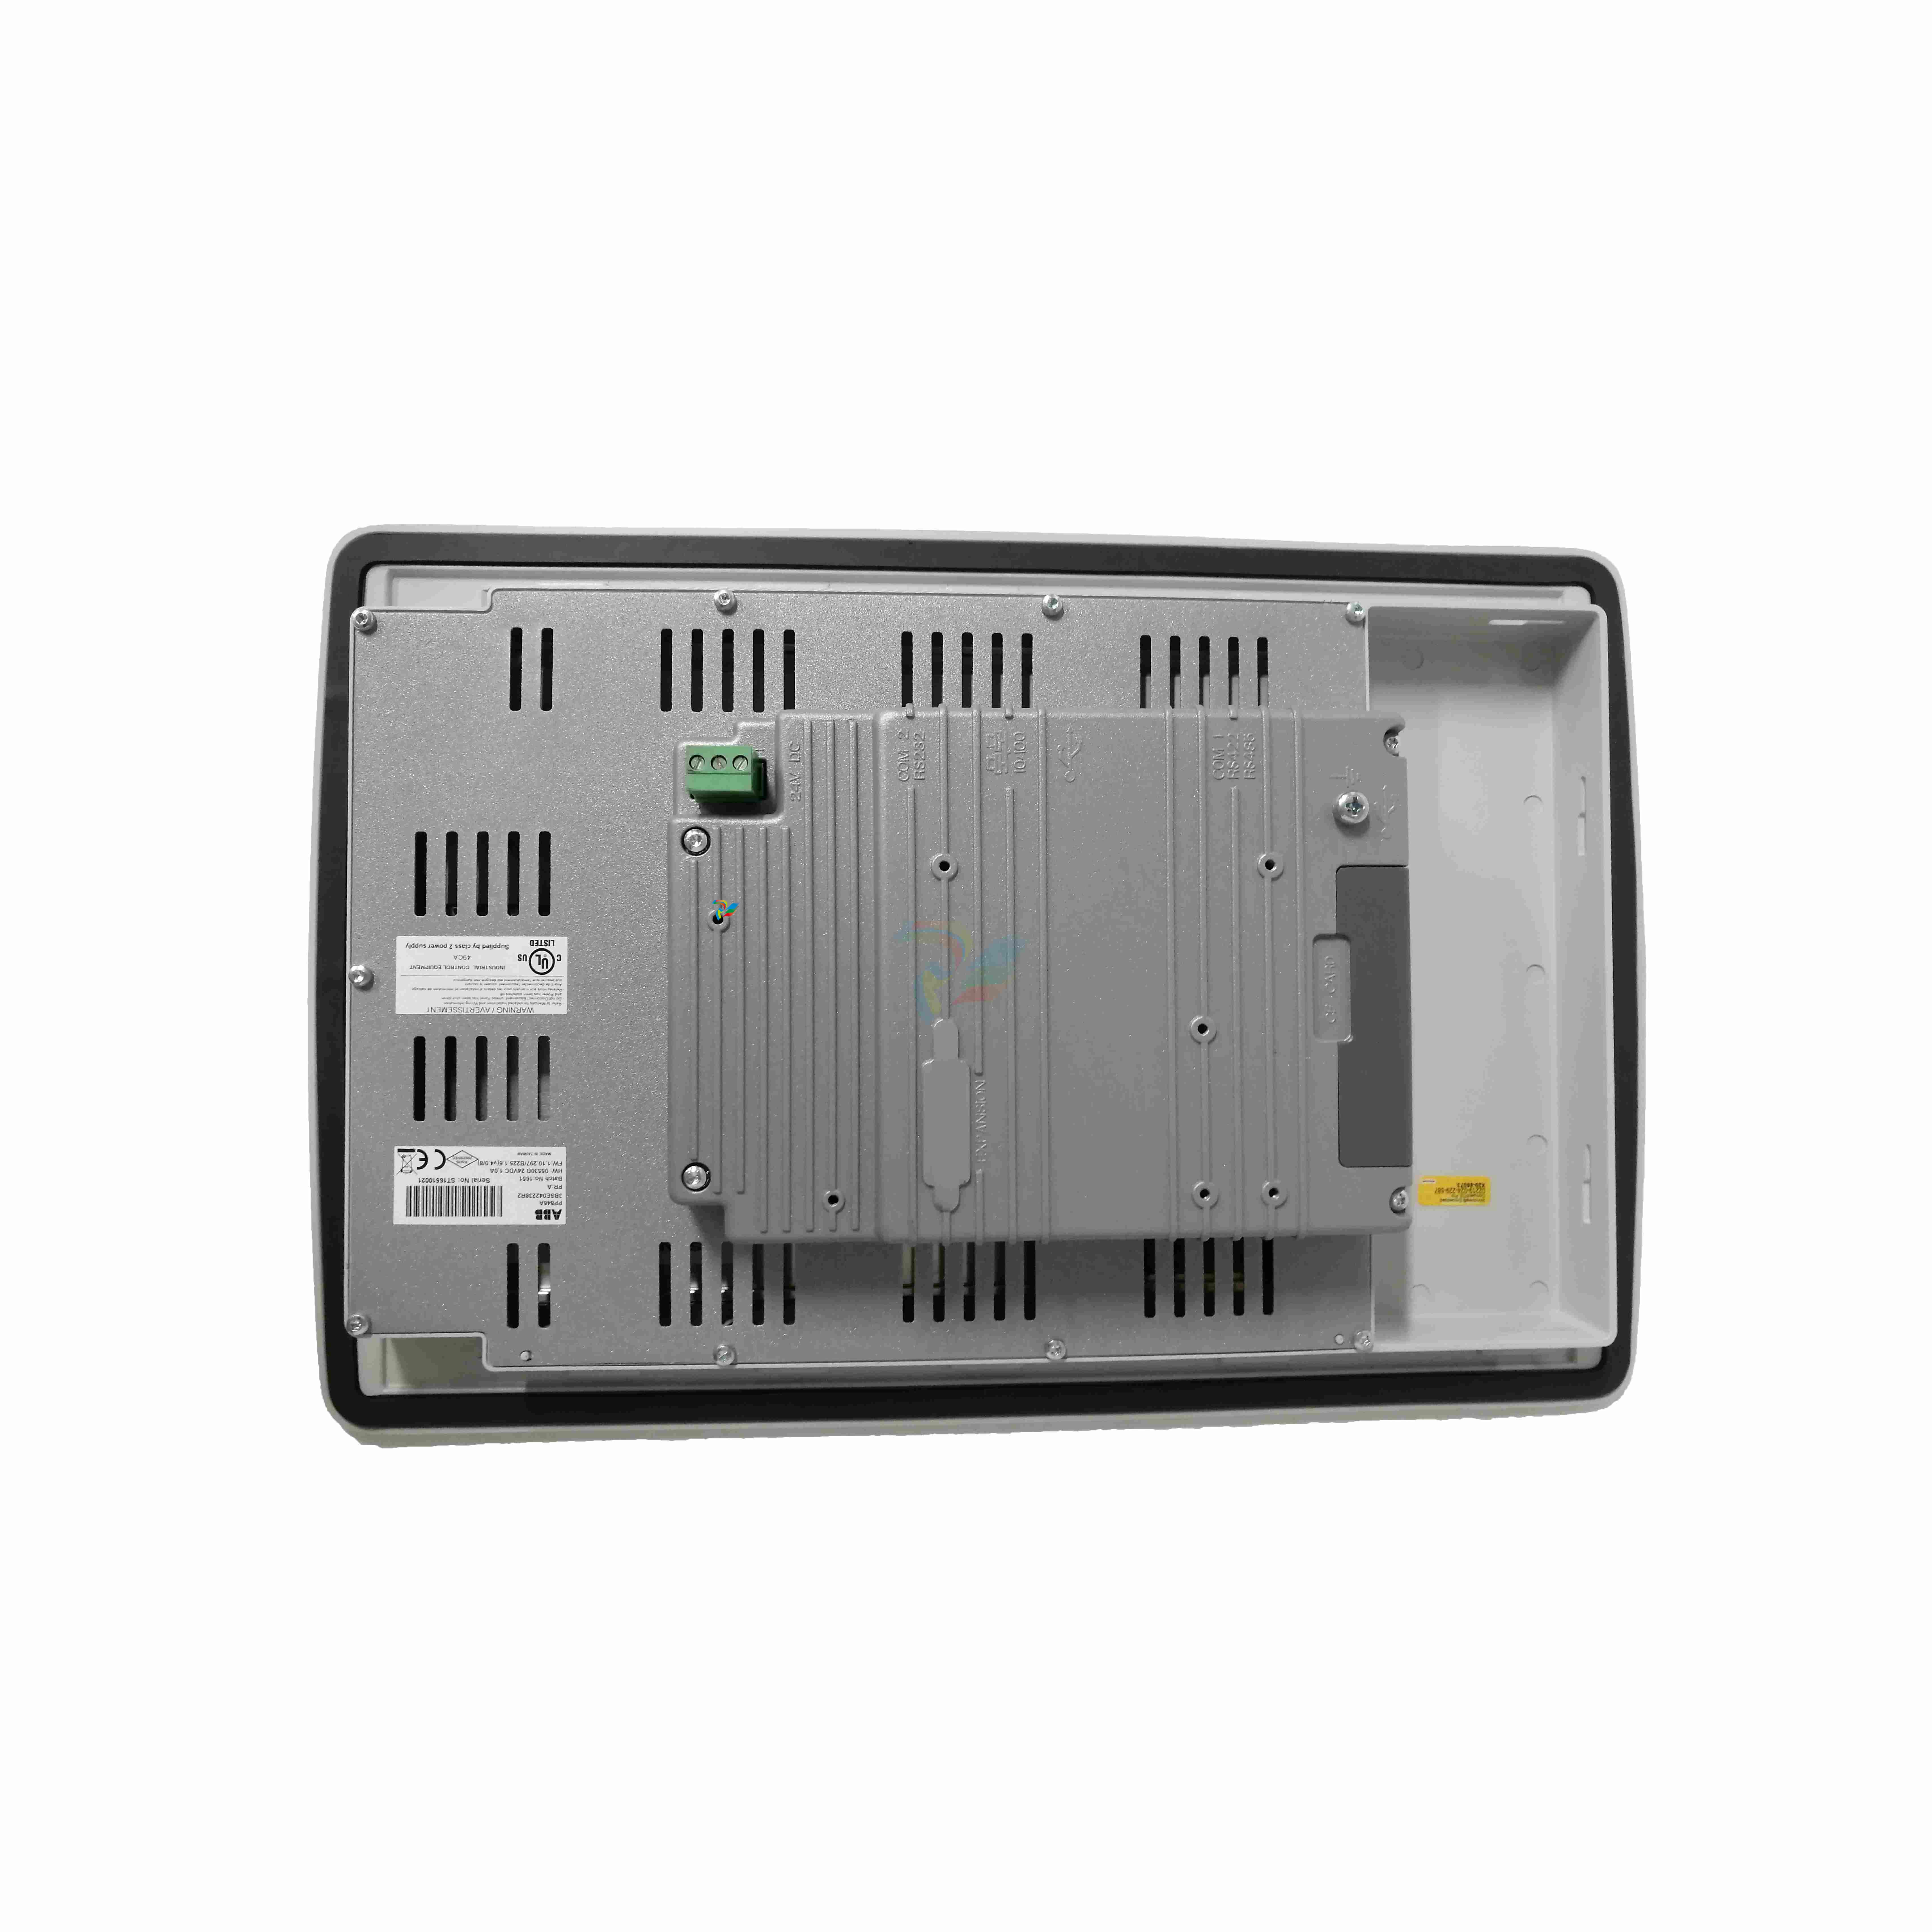 ABB GCC960C102 motor driver
 -
 ABB INDUSTRIALDRIVES UCU-22, UCU-23 andUCU-24control units
 -
 ABB XDD501A101 Bus Terminal Module
 -
 ABB S800 I/O DTM 5.3 module
 -
 ALSTOM N897164611M High Performance Control Module
 -
 ALSTOM N897164610L Pulse Output Module
 -
 ALSTOM N70032702L High Performance Control Module
 -
 ALSTOM MVAJ1L1GB0771B Auxiliary Transmission Relay
 -
 GE 239 MOTOR PROTECTION RELAY
 -
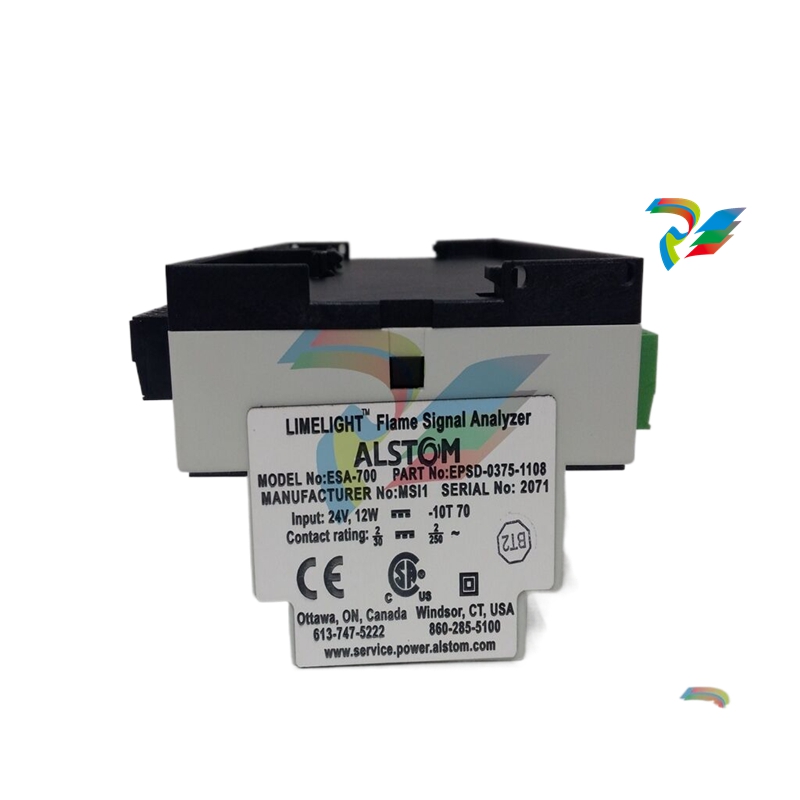
 ALSTOM ADVANCED MICRO CONTROLLER 2
 -
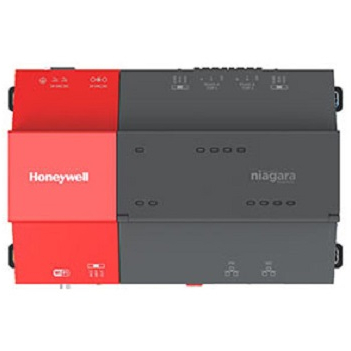
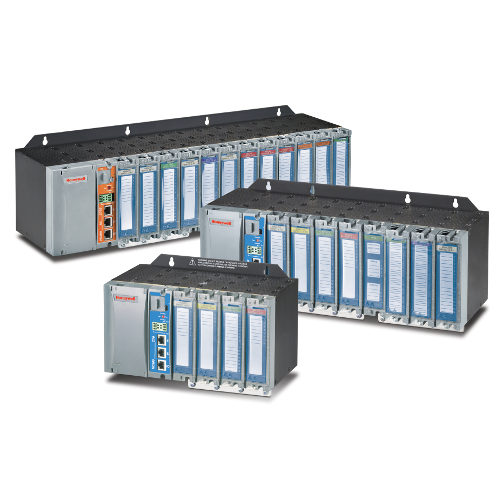 Honeywell HC900 Process and Safety Controller
 -
ABB ControlMaster CM10 Universal Process Controller
-
ABB dual power conversion switch
-
 ABB RET 541/543/545 Transformer Terminal Device
 -
 ABB Relion ® RET620 Transformer Protection and Control Device
 -
 ABB Relion ® REU615 Voltage Protection and Control Device
 -
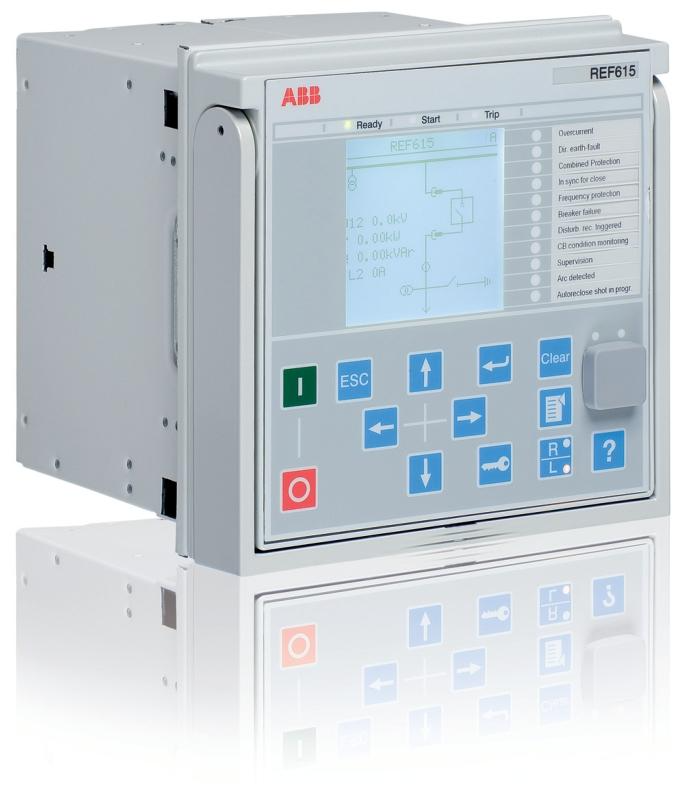 ABB Relion ® REU615 Voltage Protection and Control Device
 -
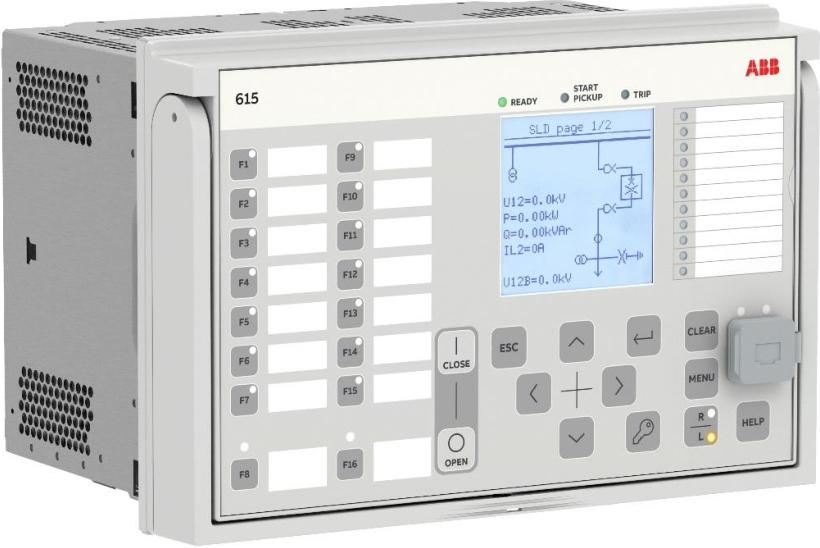 ABB REX615 Protection and Control Relay Products
 -
ABB PGC2000 series E2 process gas chromatograph
-
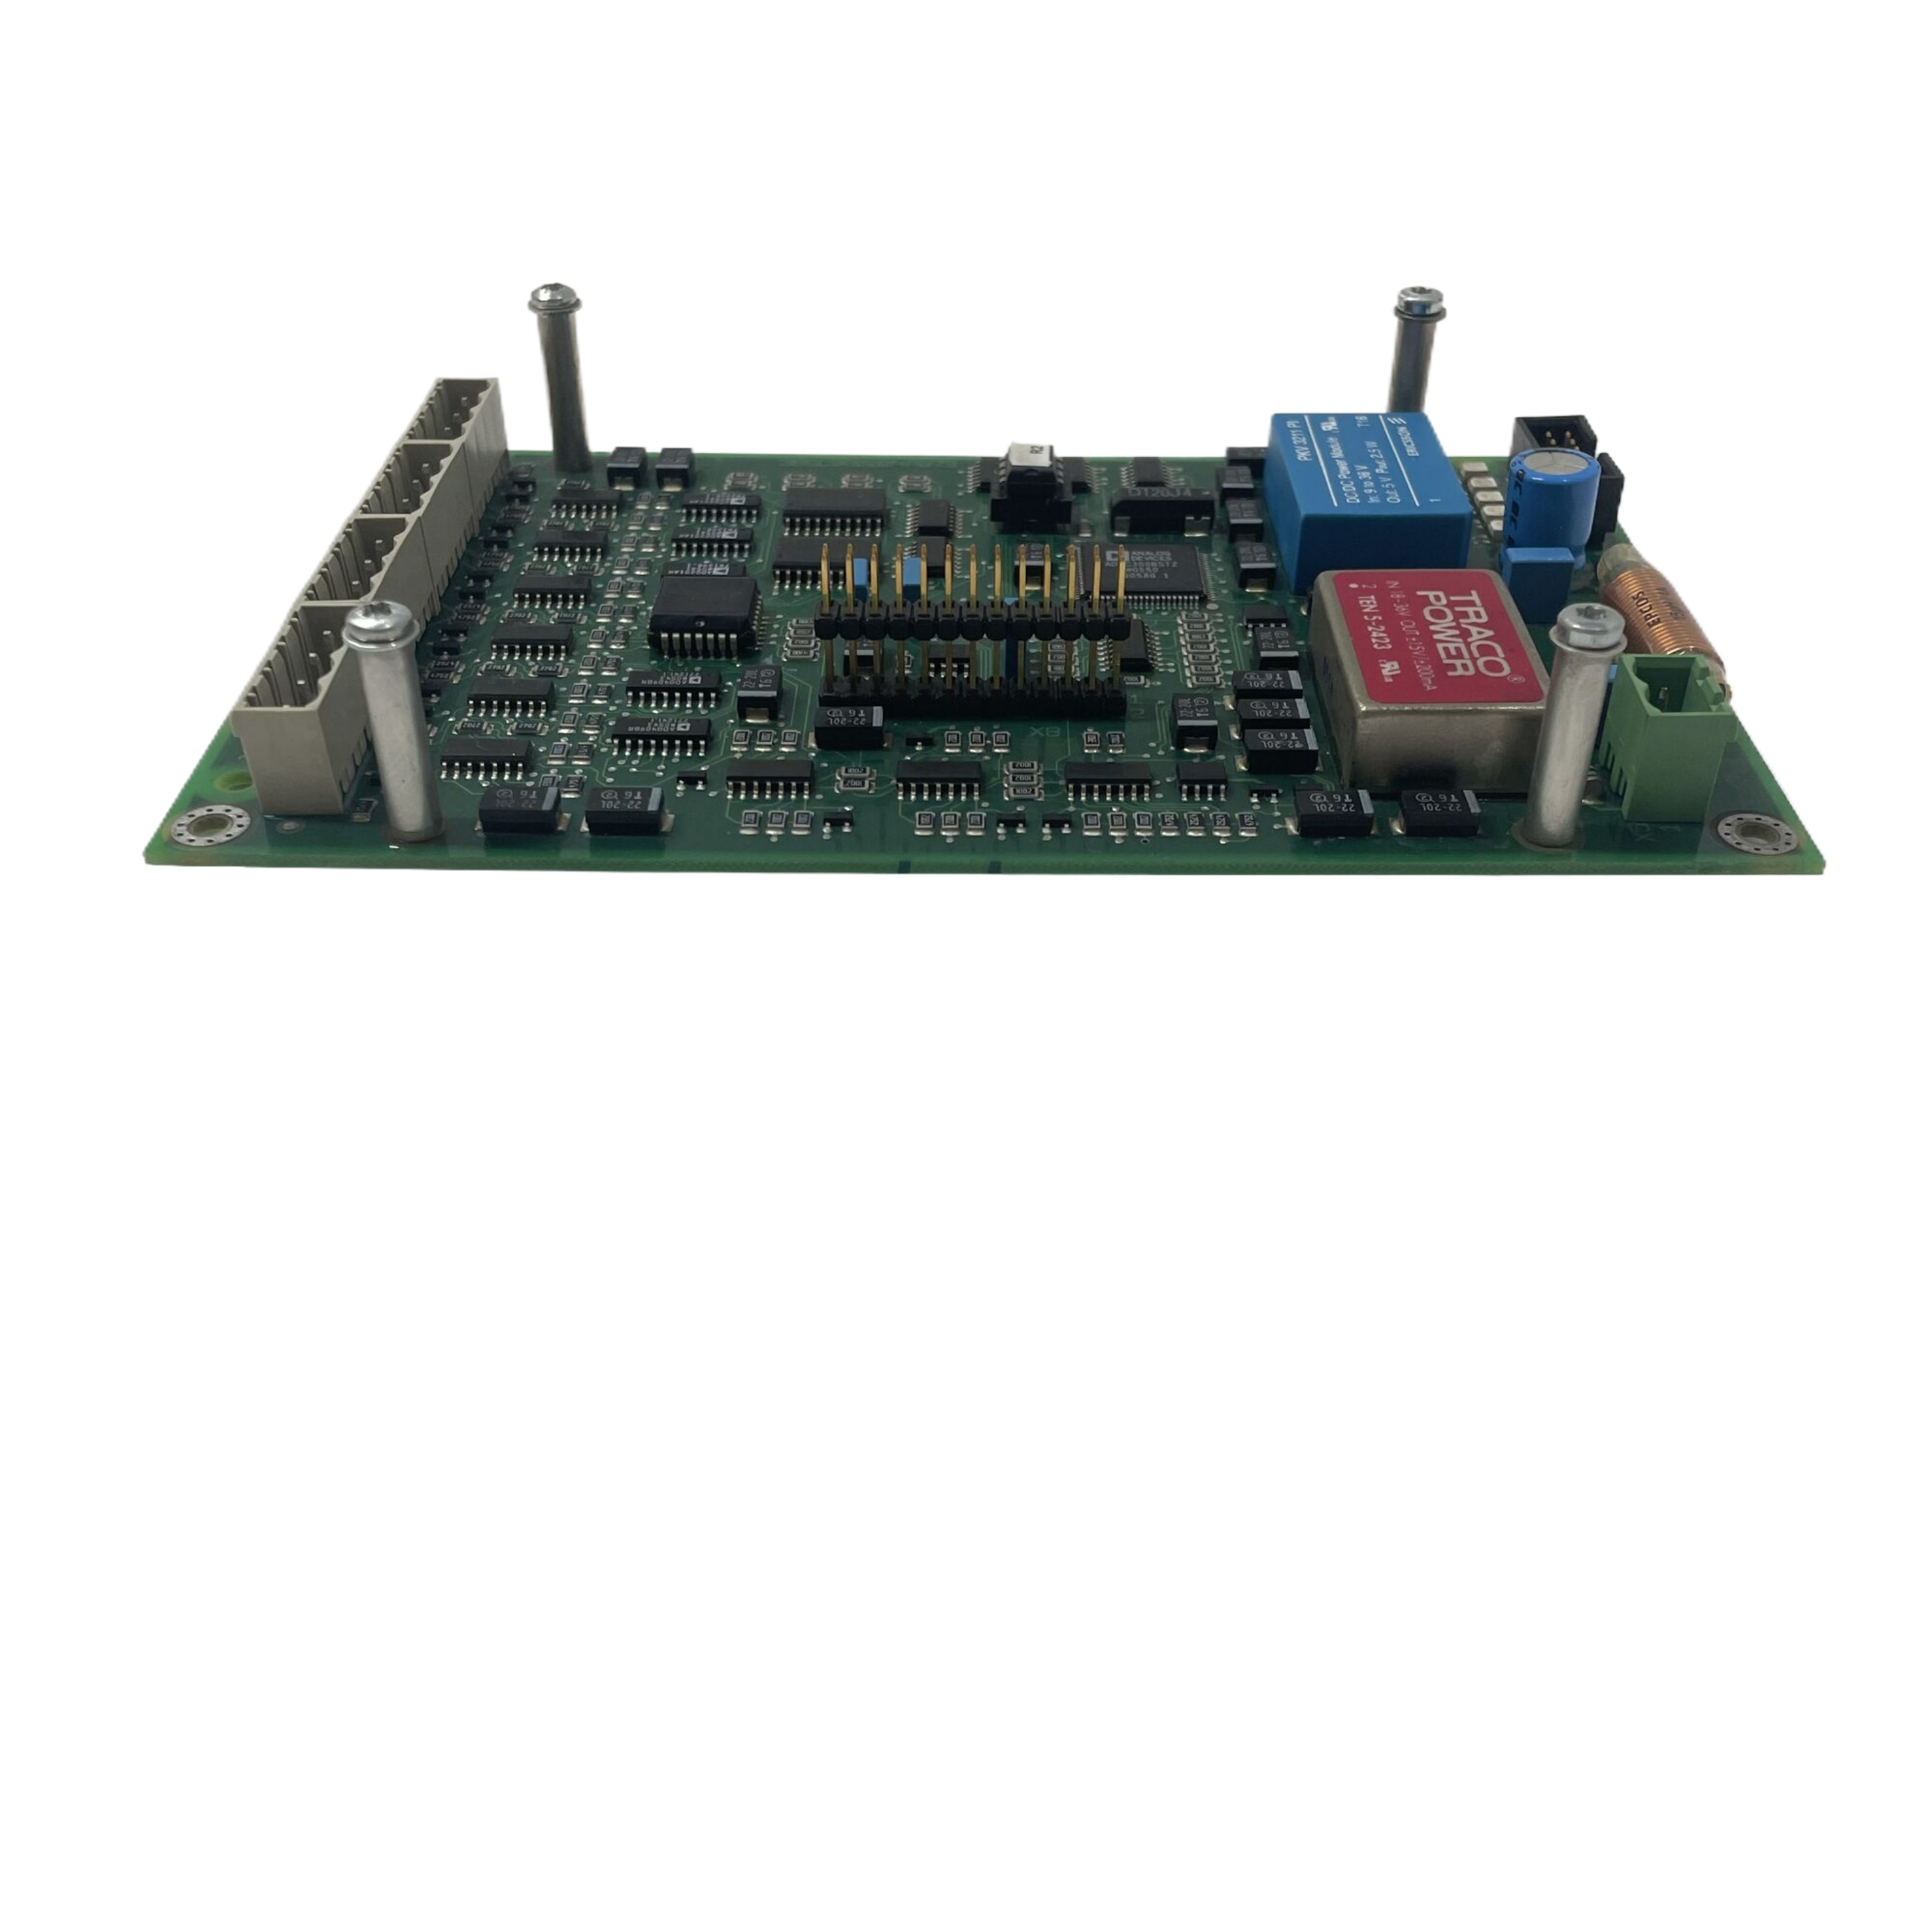 ABB PROCOLOR P 88QT03 bus coupling module
 -
 Honeywell WEB-8000 Controller
 -
 ABB Protection Relay REX 521
 -
 ABB 5SGY3545L0020 Controller Module
 -
 ABB 5SGY3545L0017 module tension controller
 -
ABB 5SGY3545L003 IGCT control module
-
ABB SNAT609TAI 5761789-6H Industrial I/O Interface Card
-
ABB SNAT602TAC circuit board
-
 ABB SNAT603 CNT Control Board
 -
ABB SNAT634PAC pulse amplifier module
-
 ABB RK682011-BA RL0B 100 standard unit module
 -
 ABB PP846A 3BSE042238R2 Industrial Control Panel
 -
 ABB ZMU-02 inverter memory card
 -
 ABB 3BHE014135R0011 UAD149A0011 DCS POSITIONING CONTROL MODULE
 -
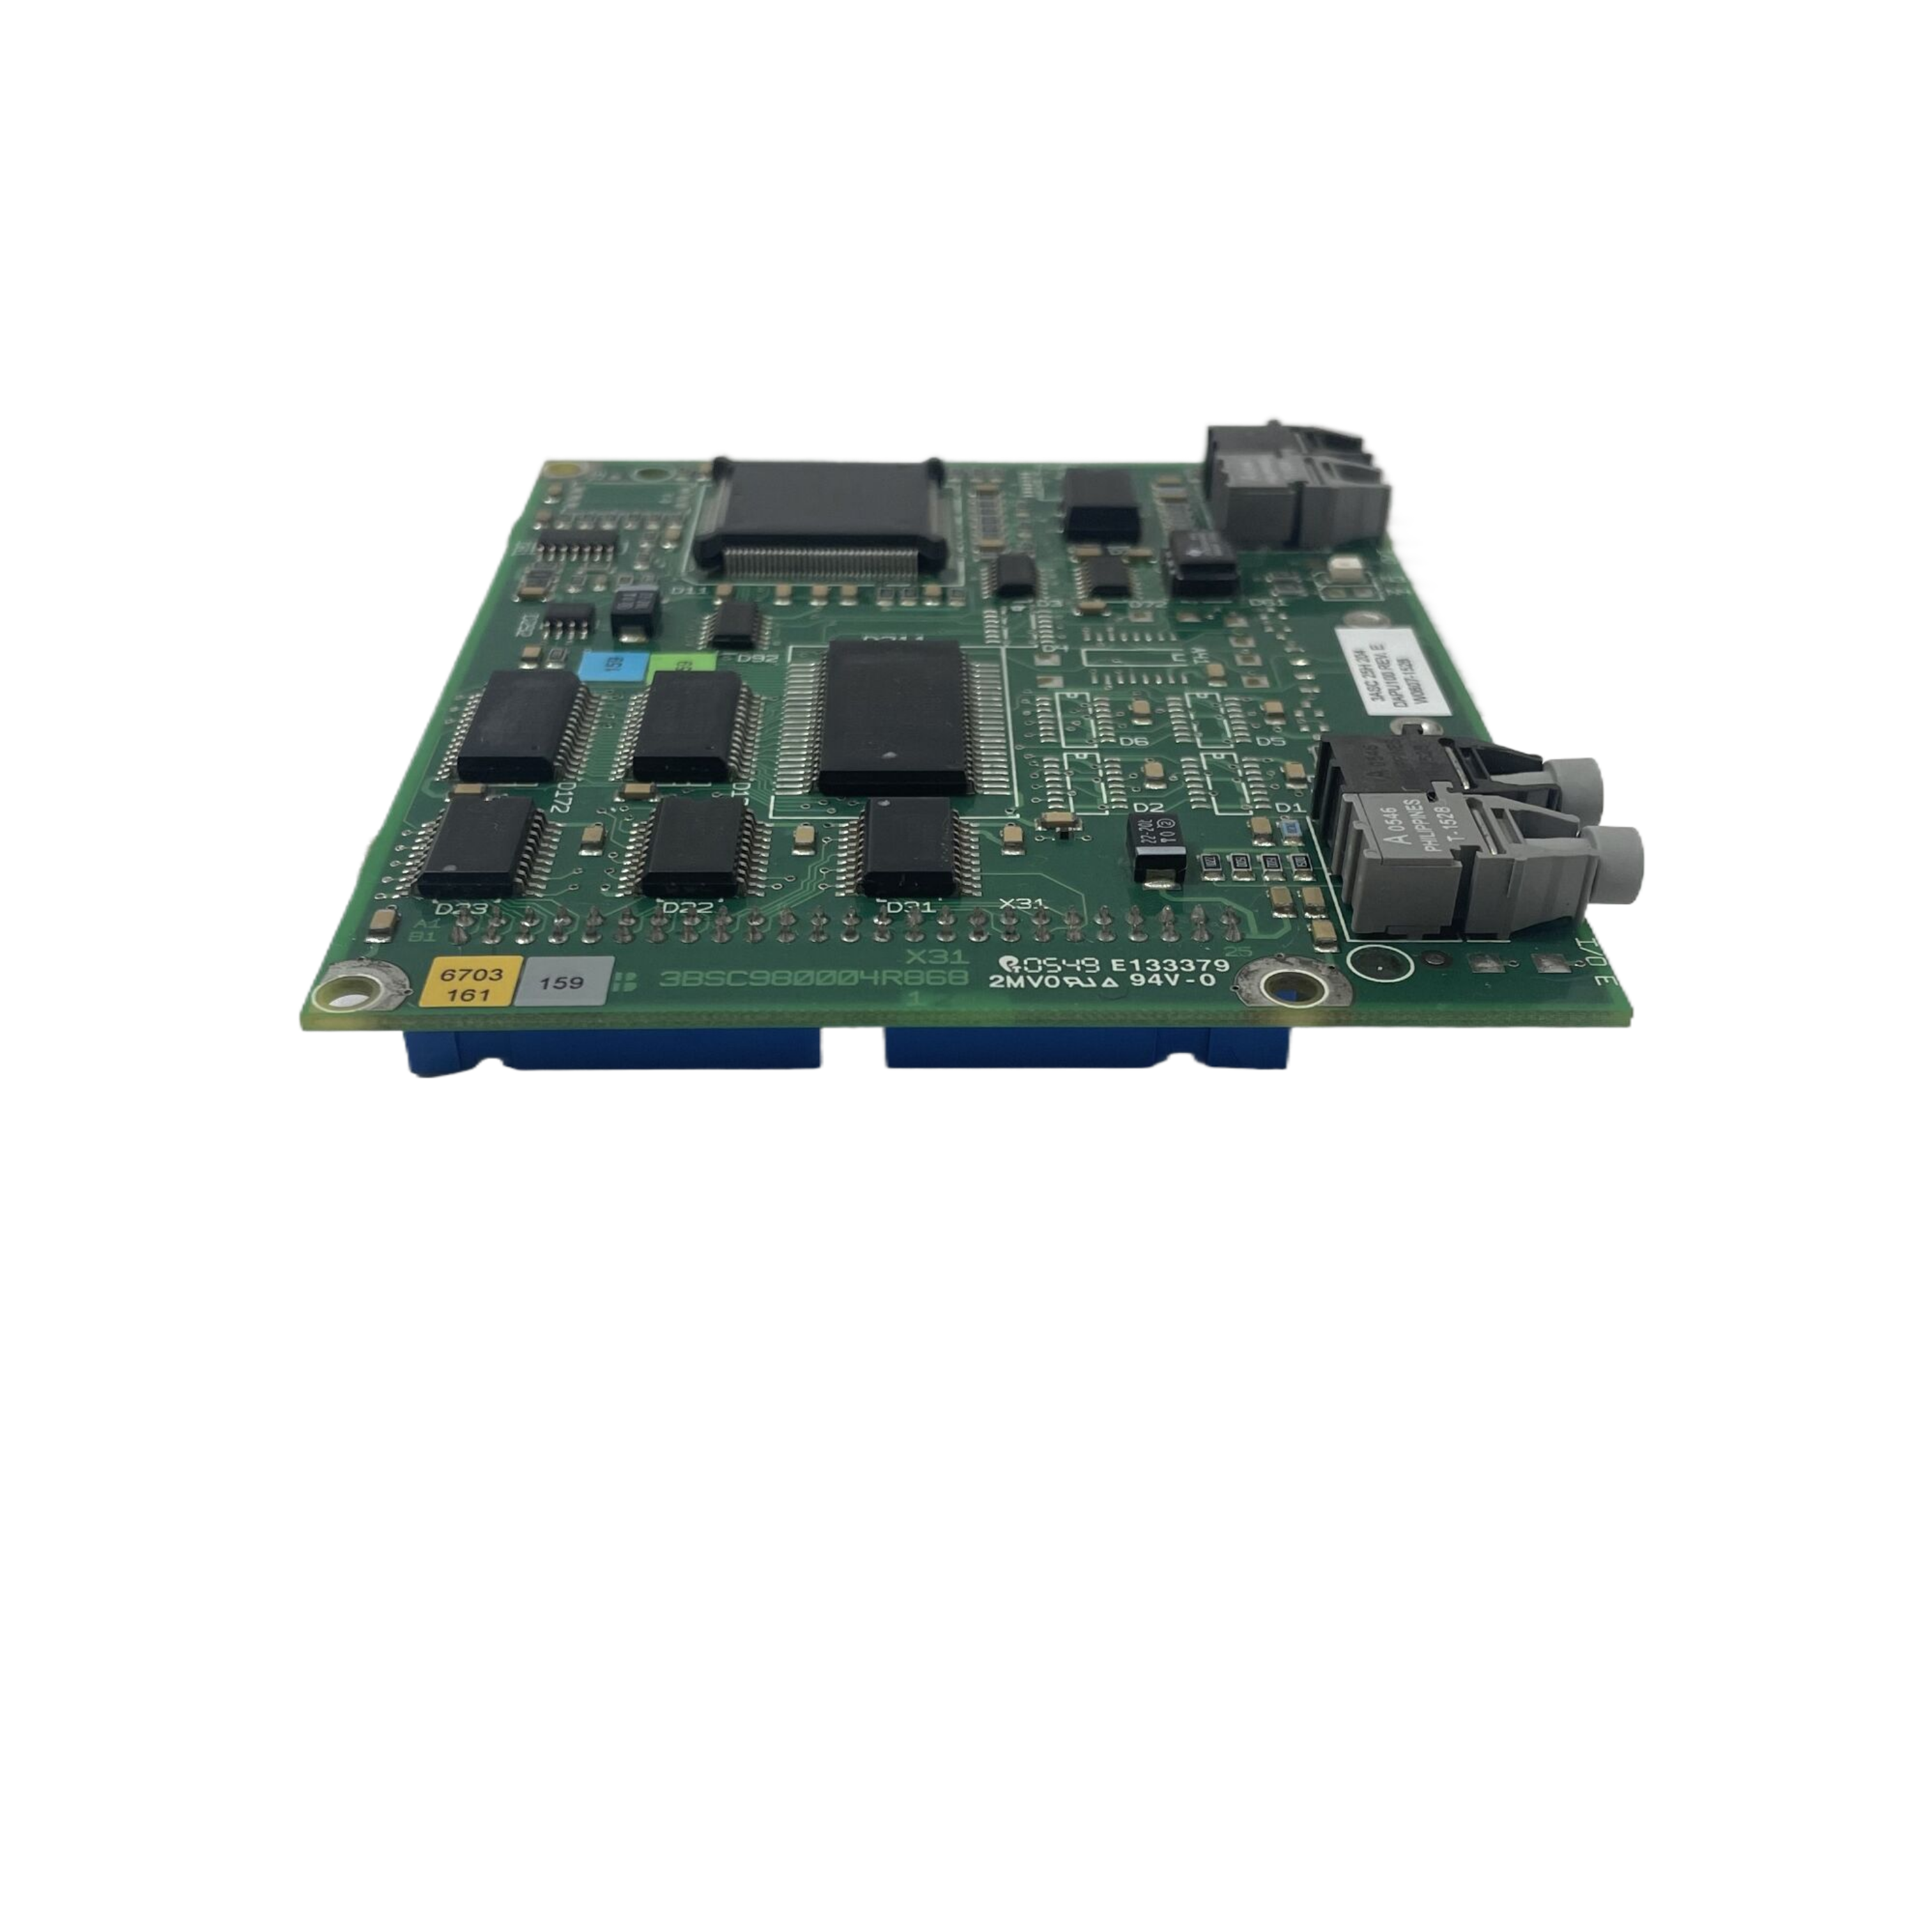 ABB 3BHE014135R0011 UAD149 A00-0-11 I/O module
 -
 ABB MEASUREMENT & ANALYTICS Web Tension Systems with Tension Electronics PFEA113
 -
 ABB GDD471A001 2UBA0022R0001 motor control module
 -
ABB UCD224A103 high-performance control module
-
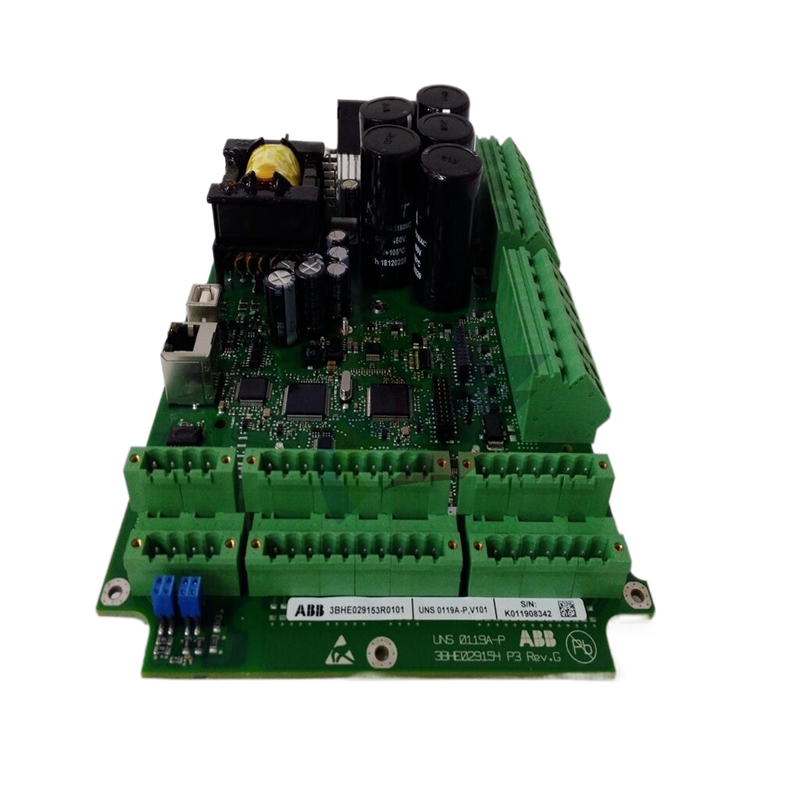 ABB PDD205A0121 control module
 -
 ABB PDD205A1121 3BHE02535R1211 processor module
 -
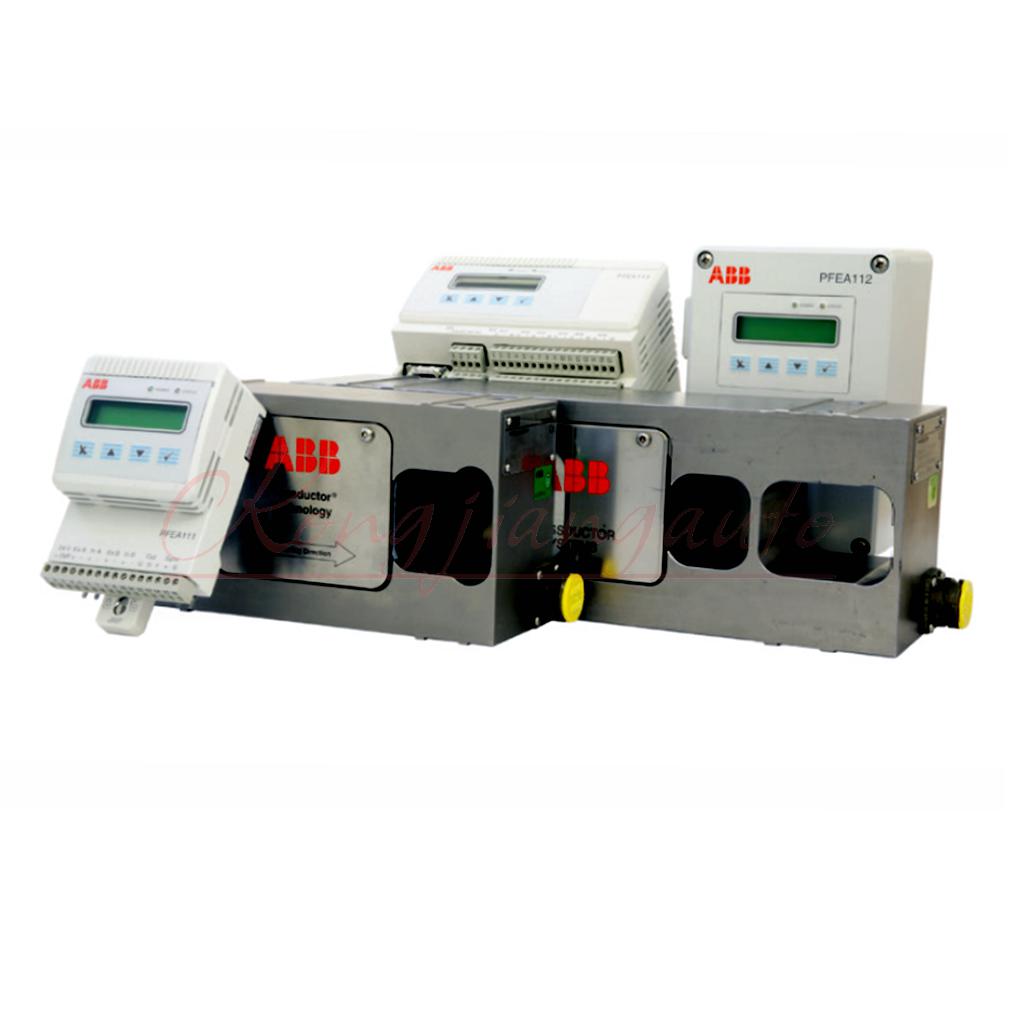 ABB DSDX453 Digital Input/Output Module
 -
ABB DSPC454 controller module
-
 Woodward ESDR4 Current Differential Protection Relay
 -
 Siemens SIJECT CI16iP StepB 6AТ1131-6DF21-0AB0 Compact Control
 -
 EtherNet/IP™ to Remote I/O or DH+ Gateway AN-X2-AB-DHRIO
 -
ABB 81EU01-E/R3210 Analog Signal Input Module
-
 ABB TK457V050 Industrial Temperature Controller
 -
 ABB DSRF197K01 Control Module
 -
 ABB TK802F SD802F/SD812F power cord
 -
ABB 3BHE03930R0101 I/O module
-
ABB 3BHB0040277R0101 GVC700AE01 thyristor module
-
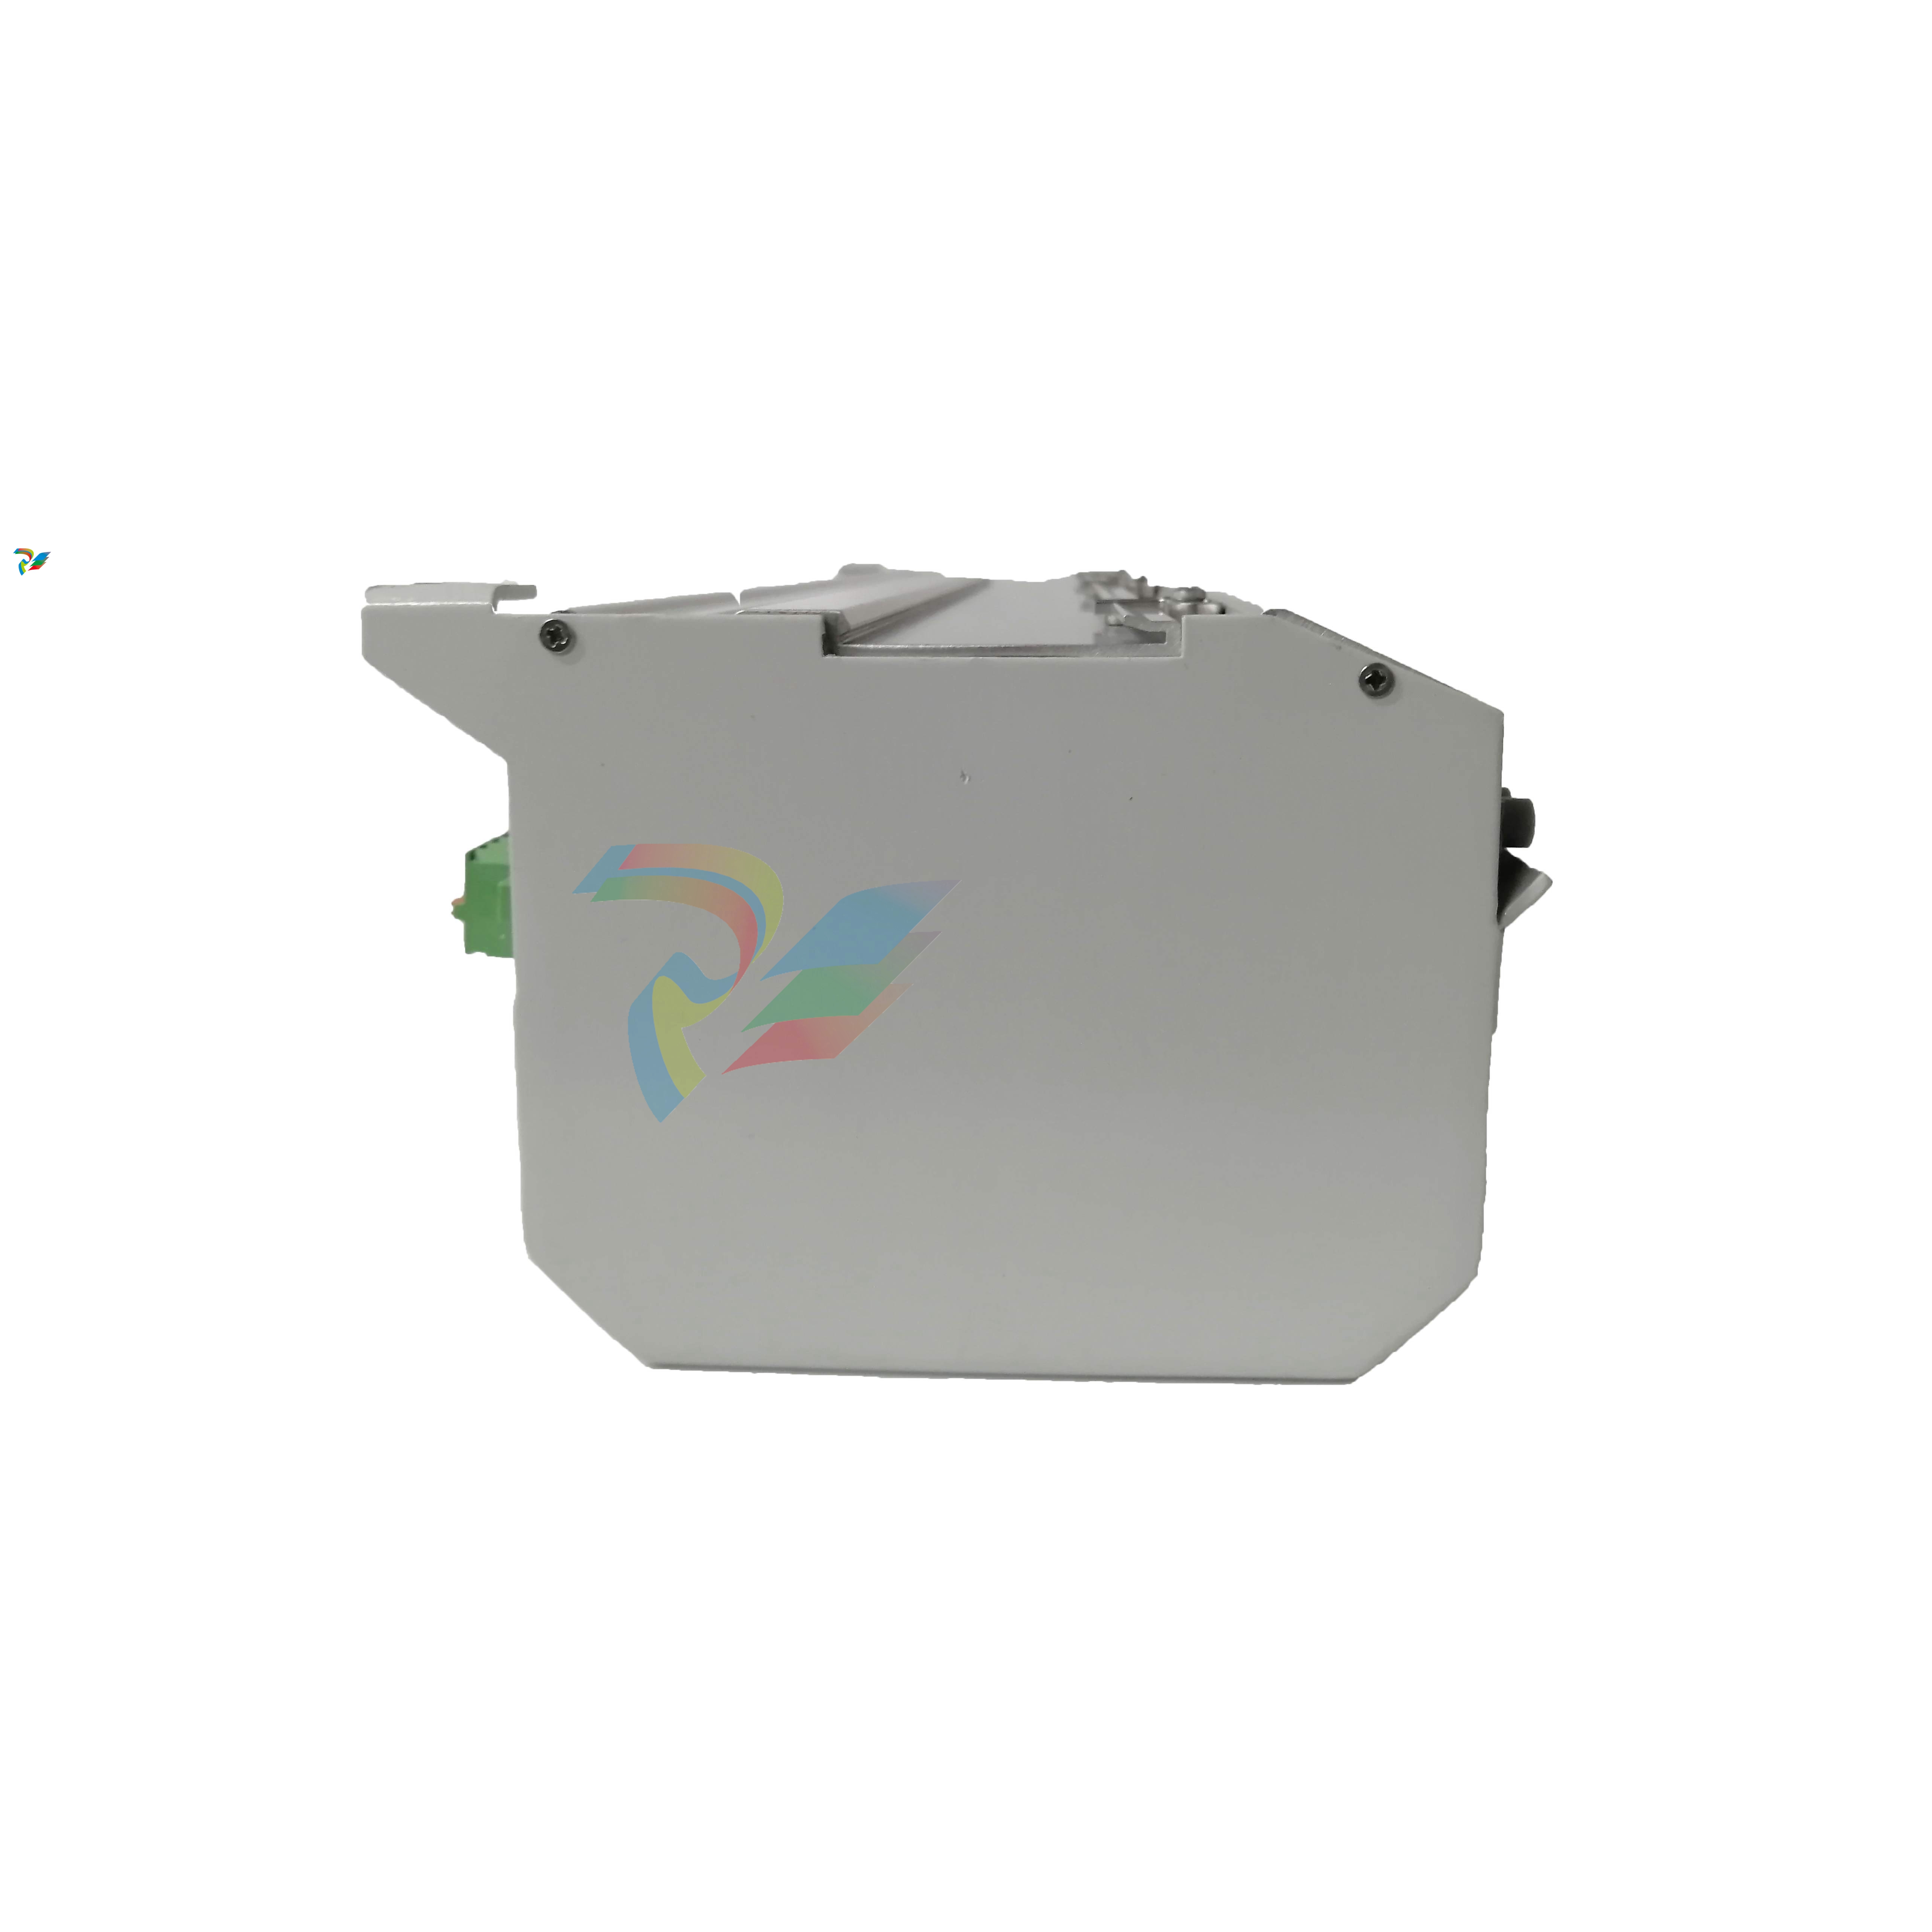 ABB 3BHB003154R0101 5SXE05-0156 IGCT module
 -
 RELIANCE INSPECTOR VCIB-06 Advanced Industrial Visual Display
 -
ABB AO2000-LS25 Laser analyzer
-
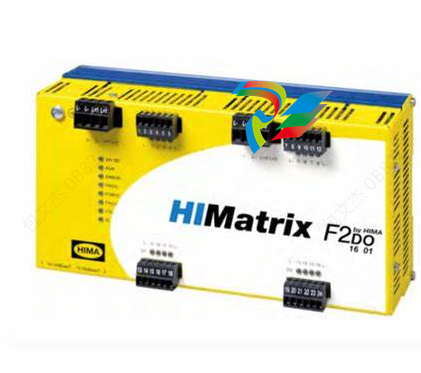 HIMA F8650X Central module
 -
ABB PM864AK01 Classic System 800xA hardware selector
-
 ABB 3BSE048845R1 CI868K01 IEC 61850 Interface
 -
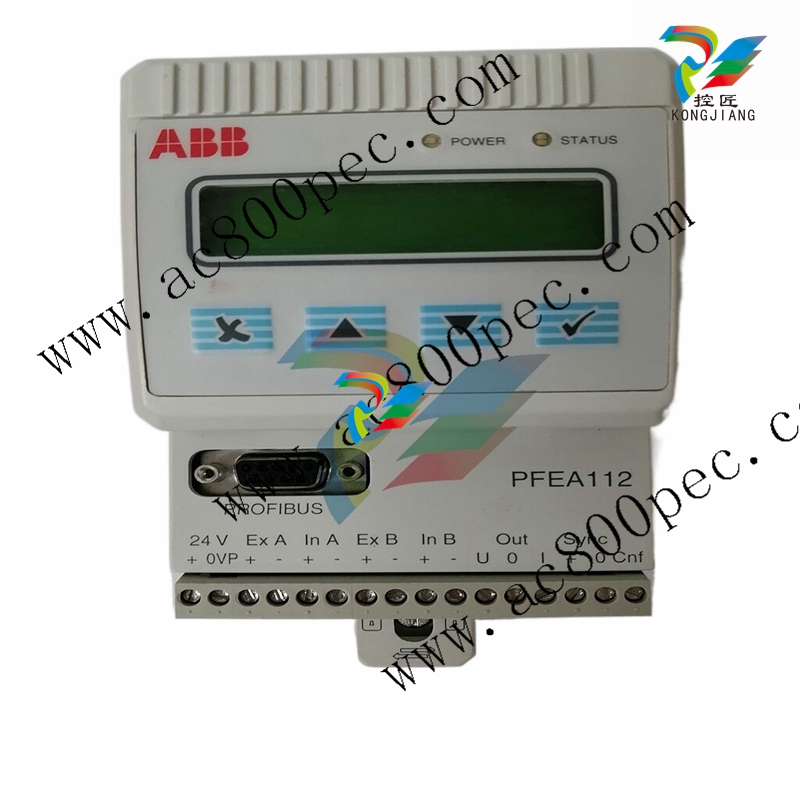 ABB 5SHY35L4520 Asymmetric Integrated Gate Converter Thyristor
 -
 ABB UNS0119A-P V101 3BHE029153R0101 processor module
 -
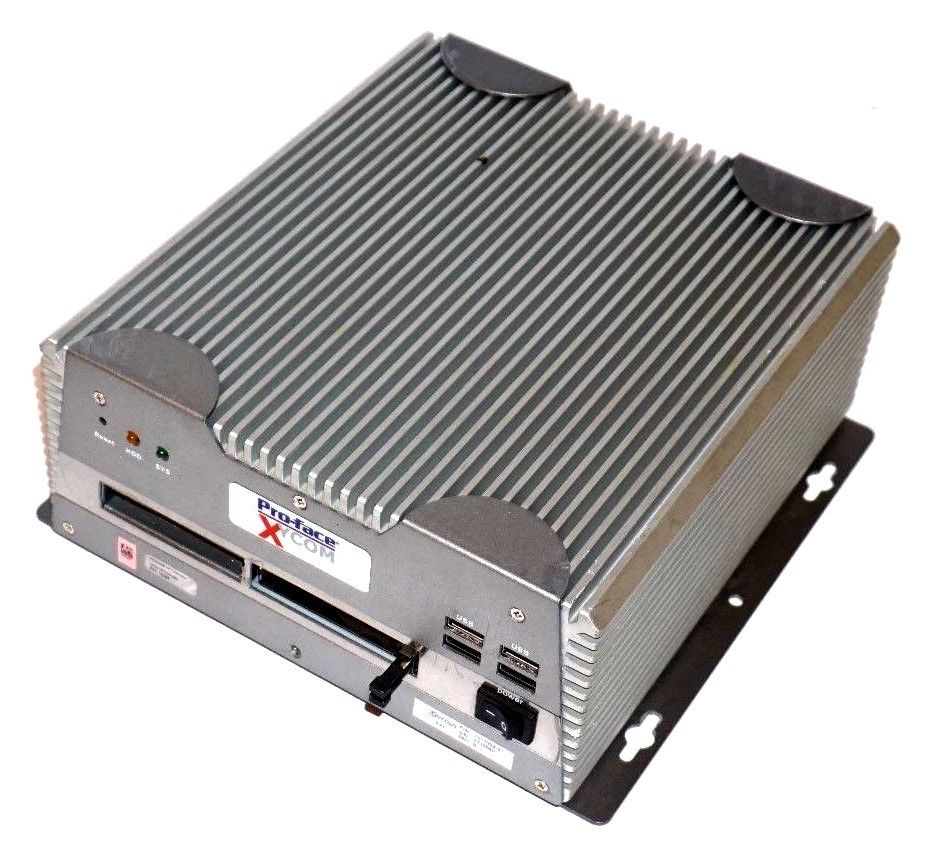
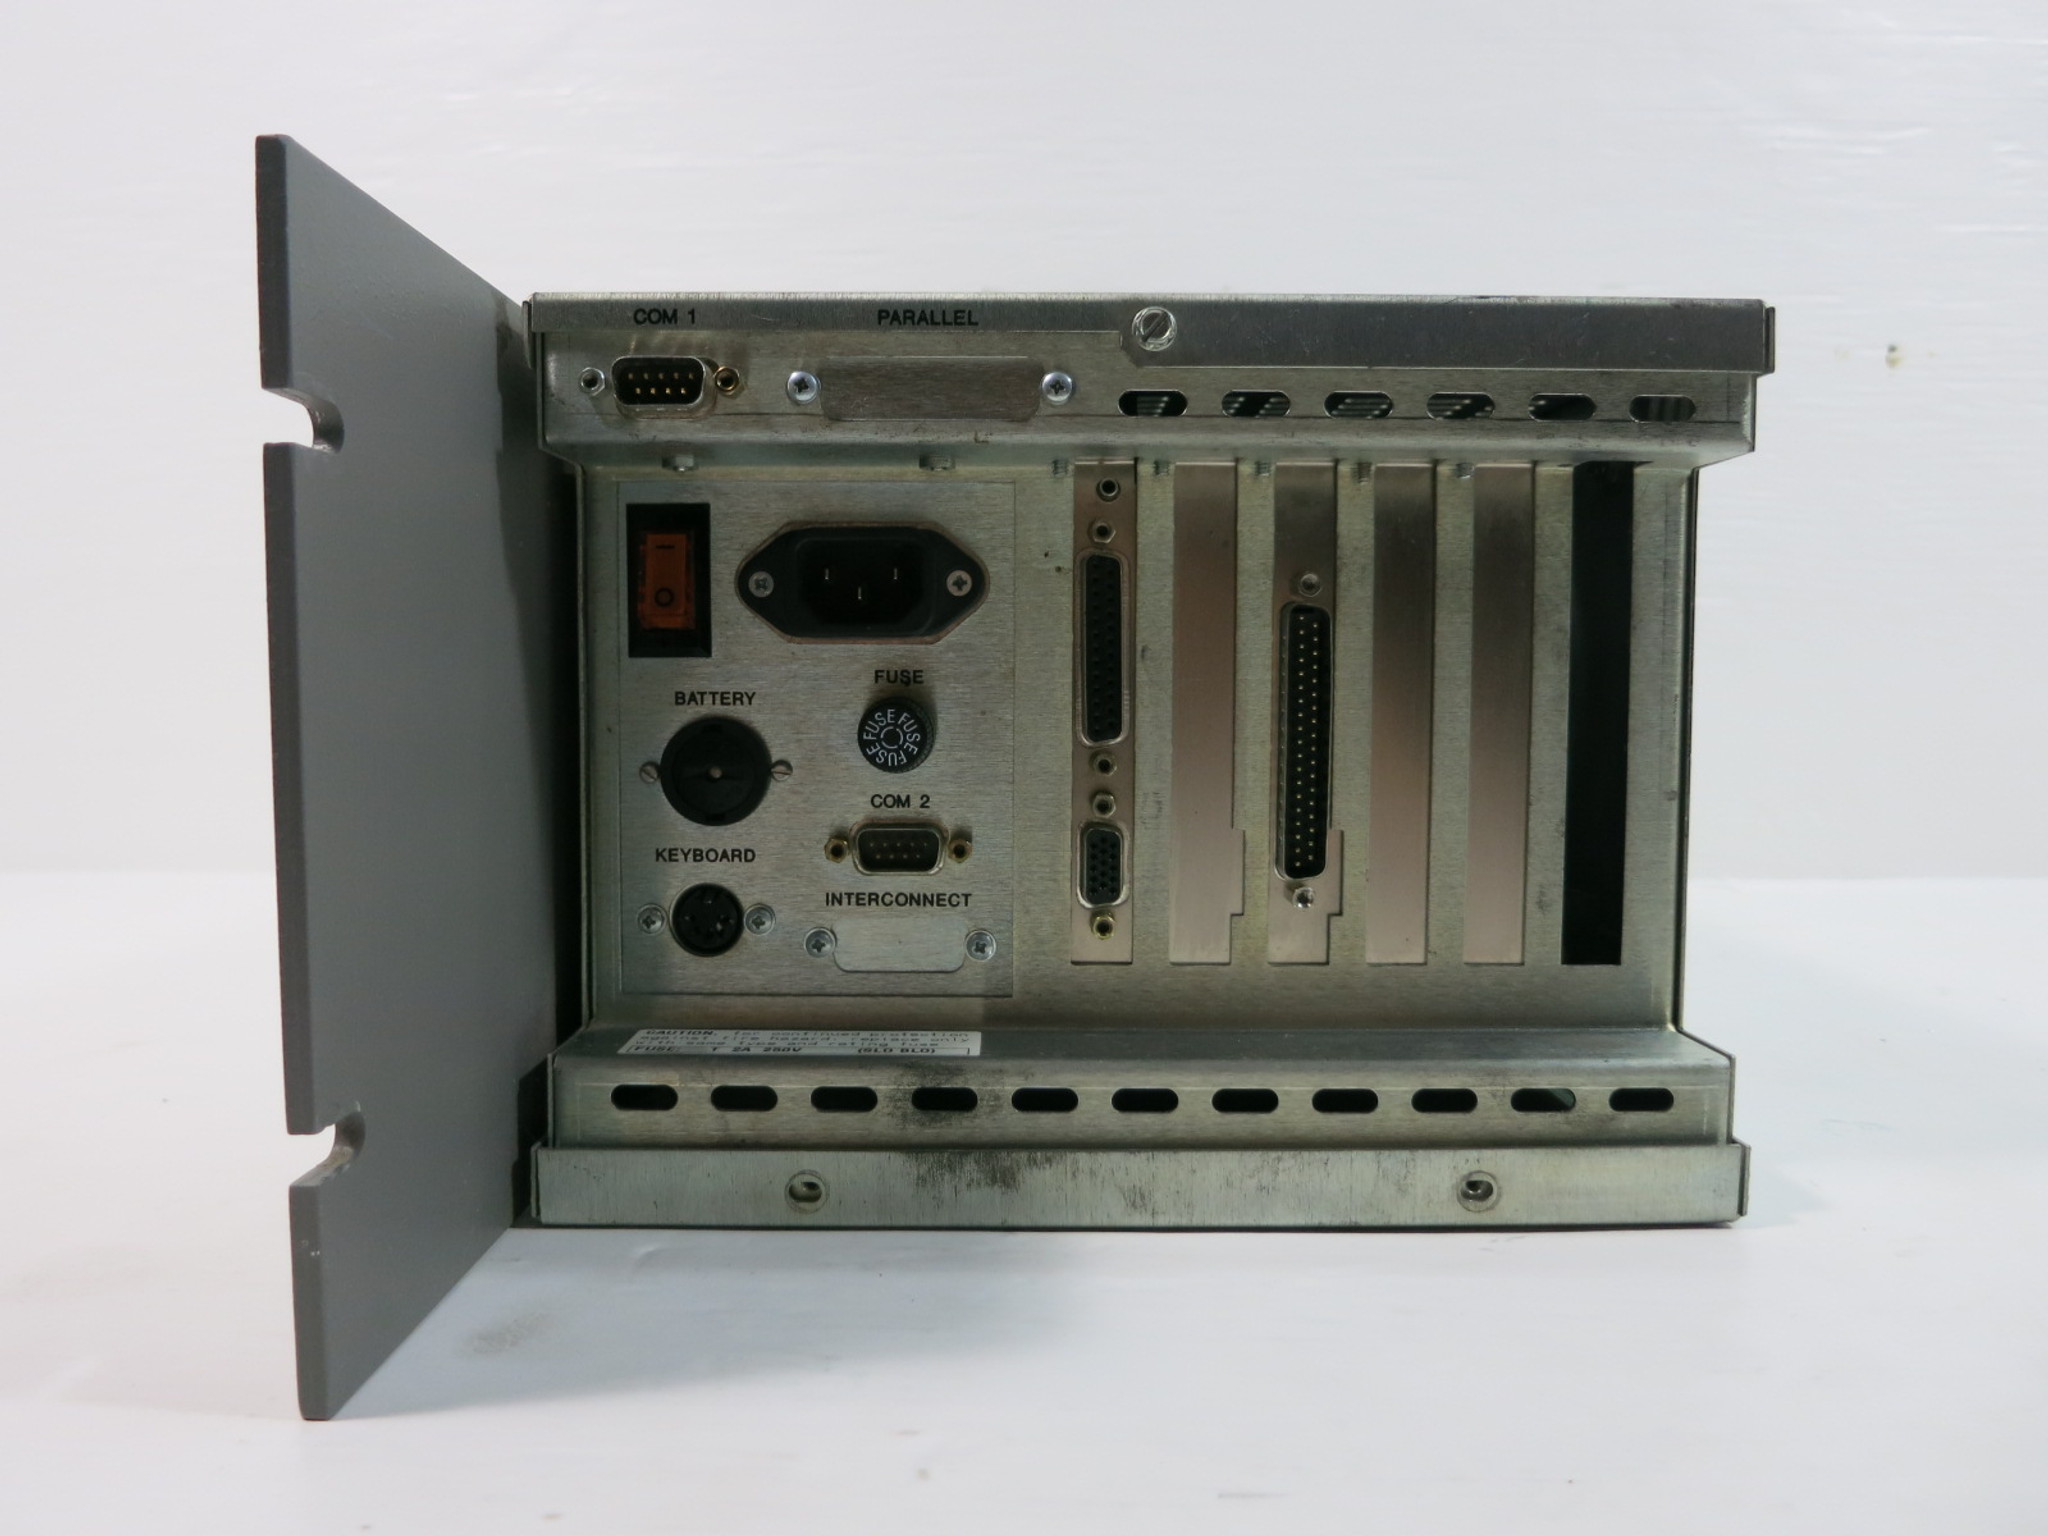
 Xycom 99212A-001 PC board
 -
 Xycom 144365-001 motherboard
 -
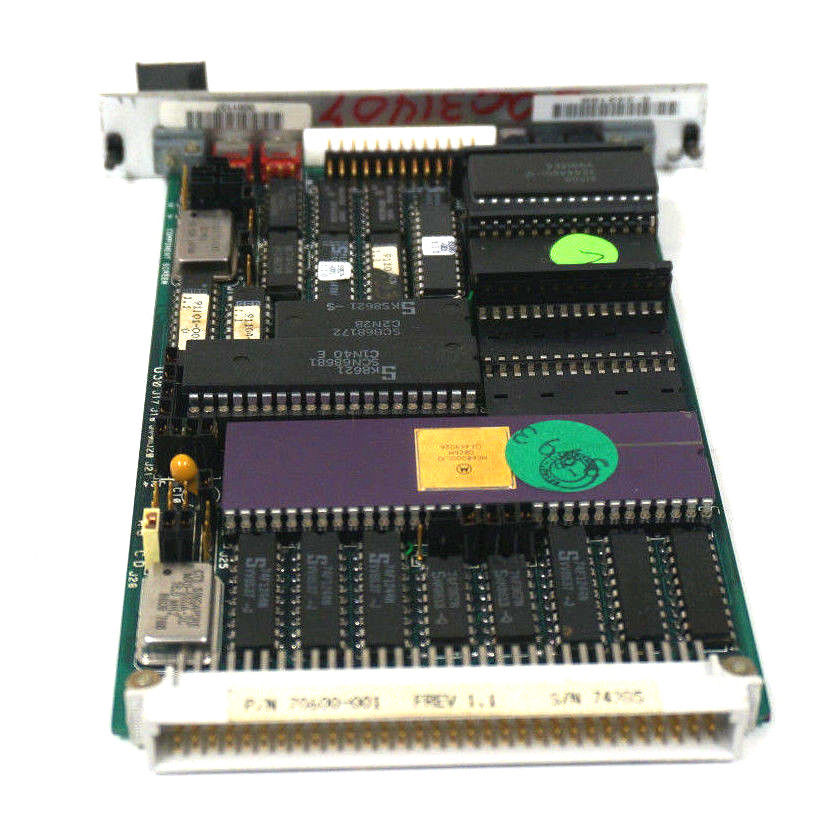
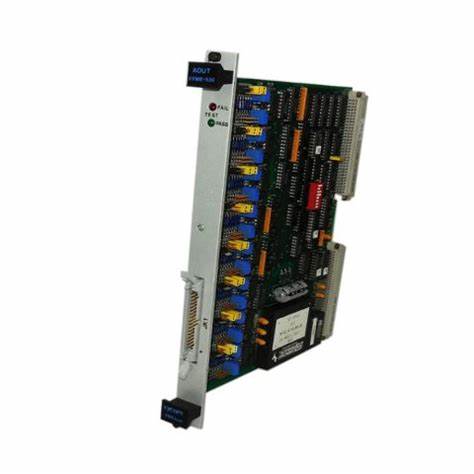
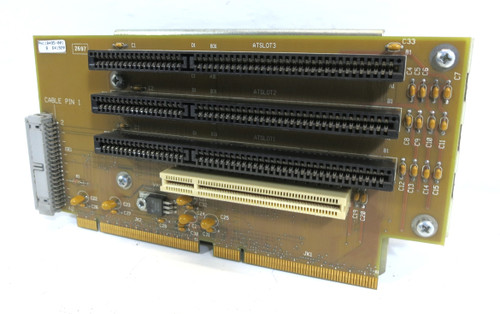
 XYCOM 70400-001 T3065-4 XVME-400 Board
 -
 Xycom Automation # 9450-2480016010000 Interface Monitor Model
 -
 XYCOM 70560-001 AIN XVME-560, VMEbus module card, PCB board
 -
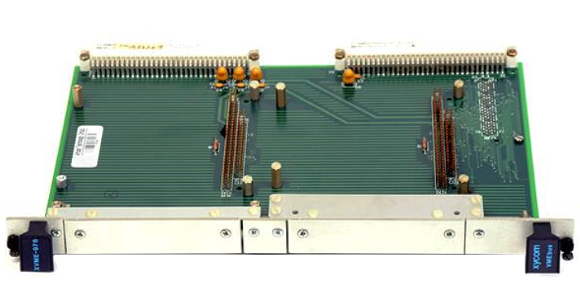
 Xycom XVME-491 VMEbus 71491A PN70491-001
 -
 Xycom 99157-001 Circuit Board
 -
 Xycom 1341 egemin PM-070016 computer P/N 701301-01 TF-AEC-6910-C13
 -
 Xycom 8430 Industrial Controller Options 71338 115/230V P/N 8430-078122A002110
 -
 Xycom XVME-203 VME Digital Counter I/O Module Board PLC 70203-001
 -
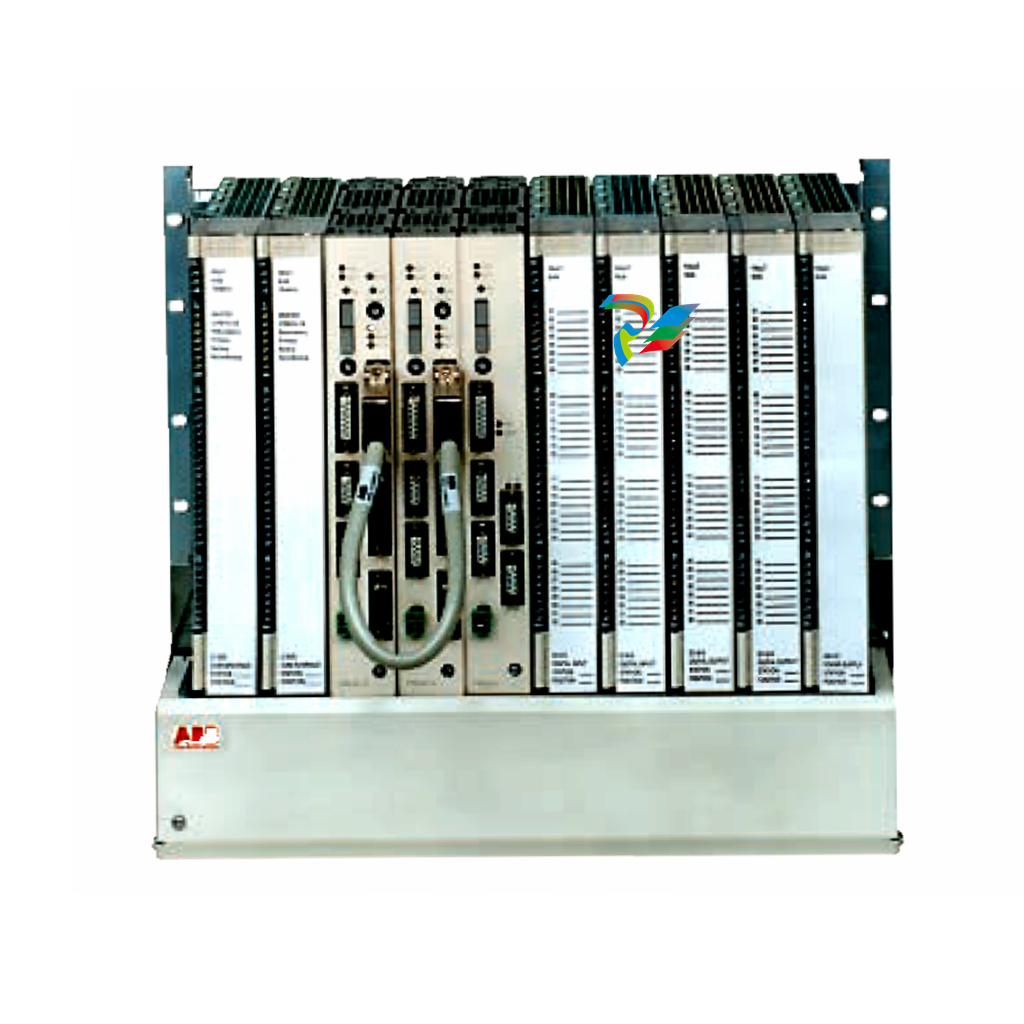 ABB UNS0119A-P V101 Controller Module
 -
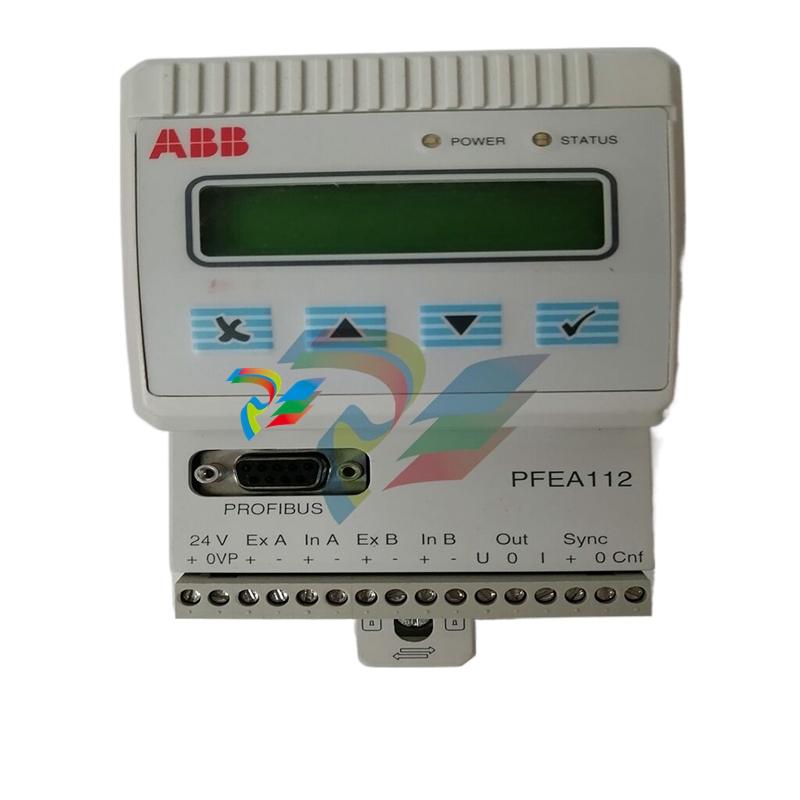 ABB GCC960C103 3BHE033067R0103 Controller Module
 -
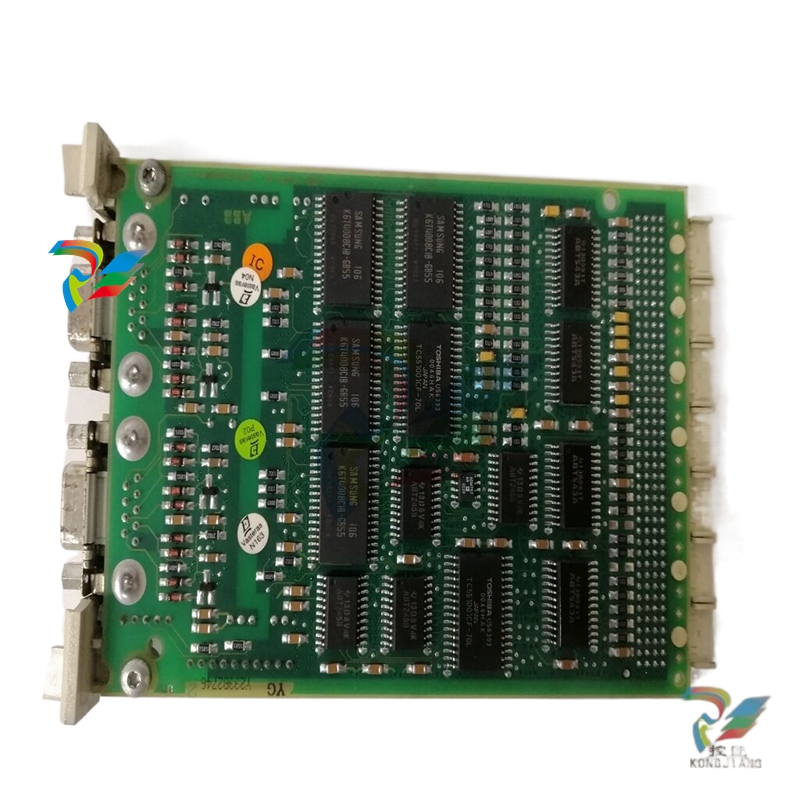 ABB GVC736CE101 High Performance AC Inverter
 -
 ABB PCD244A101 Terminal Card Module
 -
ABB 3BHE020356R0101 GFD212A motor thermal relay
-
ABB PDD500A101 power distribution module
-
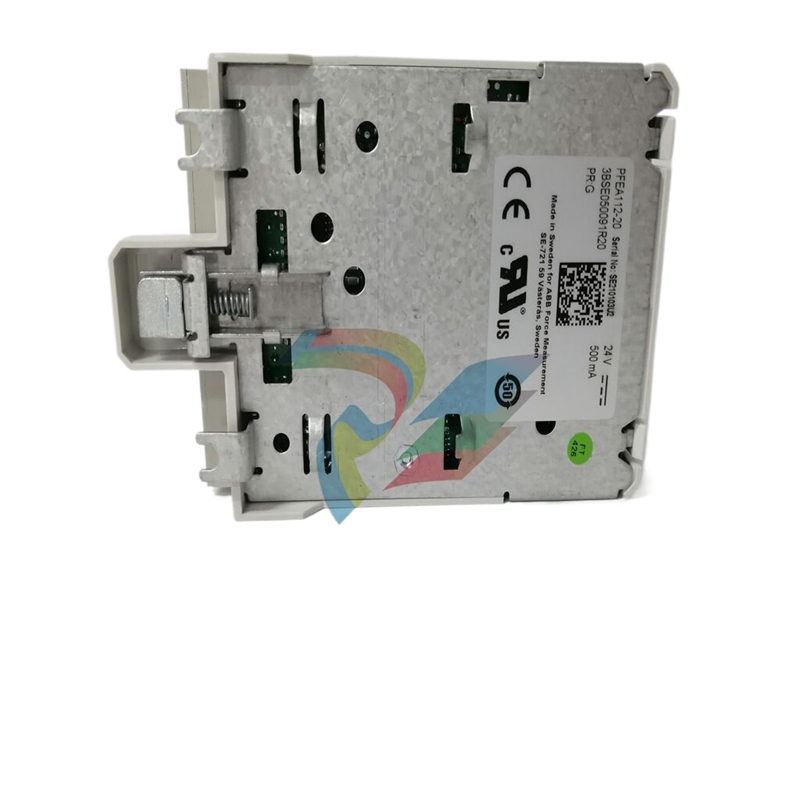 ABB PDD200A101 Industrial Control Module
 -
 Xycom 86863BA Control Card 86864-003/B
 -
 Xycom XVME-240 Digitale I/O-Karte für industriellen Einsatz
 -
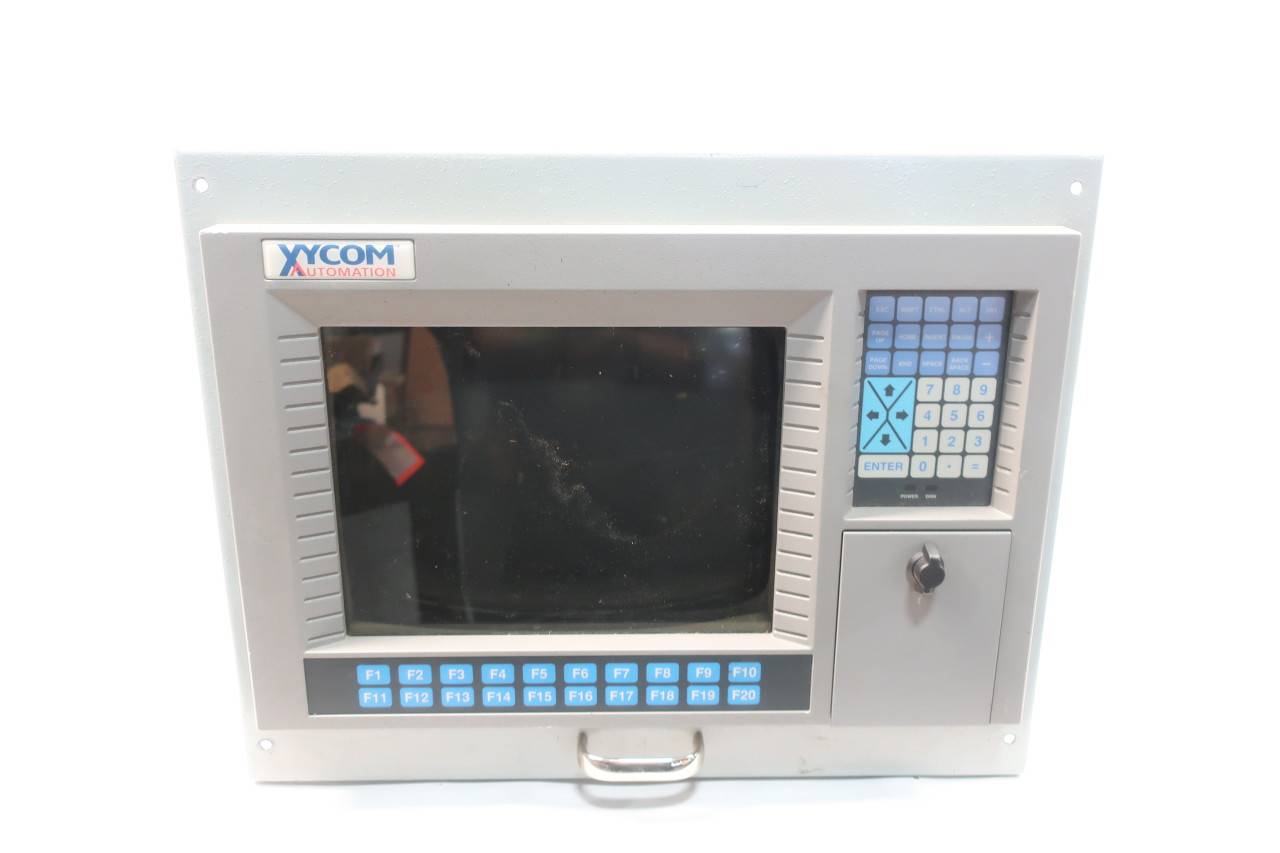
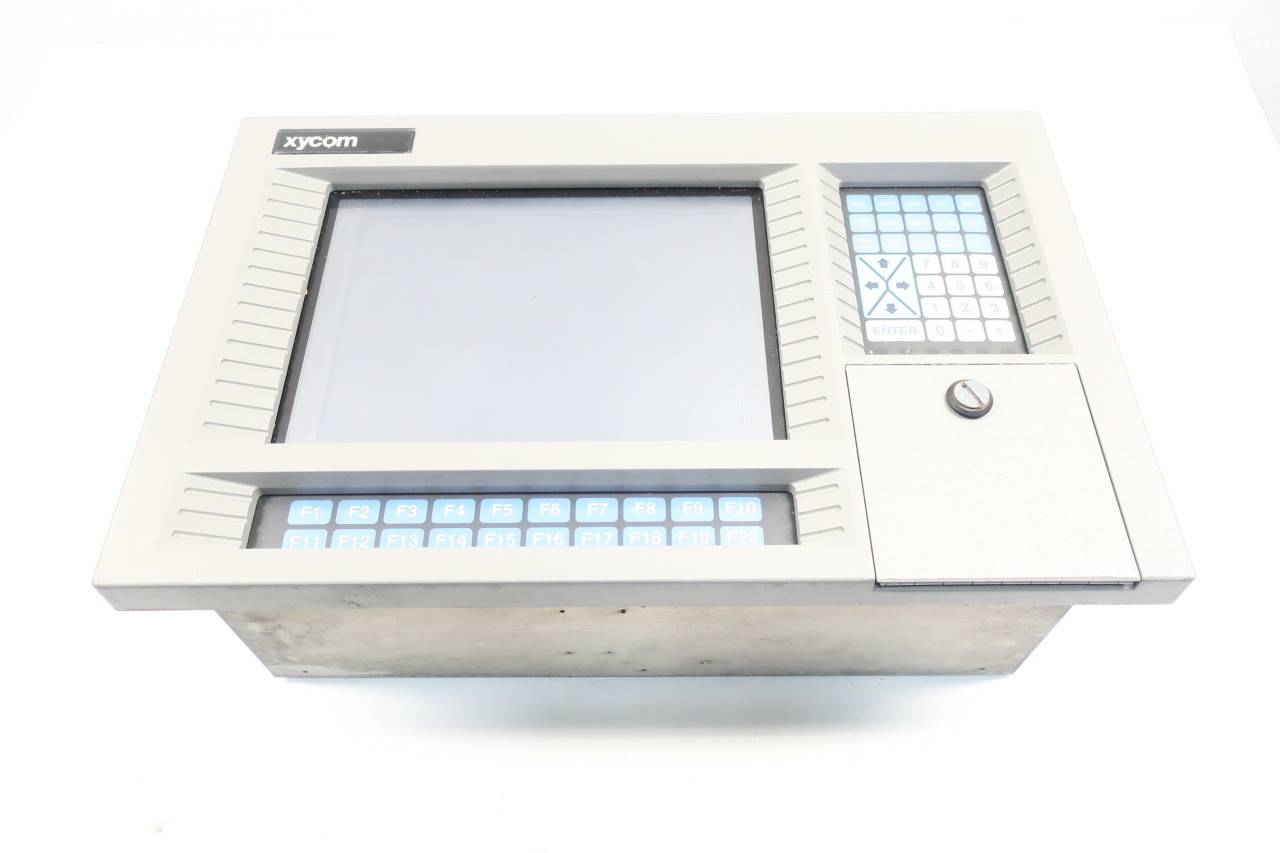
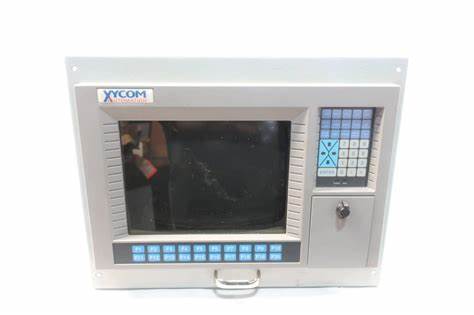 Xycom 9450 PC/AT computer operator interface HMI screen display keyboard control
 -
 XYCOM XCME-540 Analog I/O Module VMEBUS 70540-001
 -
 XYCOM 9460 Touch Screen
 -
 Xycom Analog CDA XVME VME TI DSP SCSI I/O module sequence RS232 card board
 -
 ALSTOM MCGG62N1CB0753F Auxiliary Transmission Relay
 -
 ABB S3N 3P 150A Standard thermal-magnetic
 -
 ABB SPIET800 Ethernet CIU Transfer Module
 -
 ABB SPAD 346 C3 Differential Protection
 -
 ABB 15.04.2005 Instrument Transformer
 -
 ABB FPX86-9329-C High Performance Industrial Controller
 -
 ABB ARCOL 0346 Industrial Control Module
 -
ABB ARCOL 0338 Controller Module
-
ABB ARCOL 0339 Industrial Inverter
-
 ABB 969-54 New Automation Controller Module DCS PLC Module
 -
 ABB 5SDD1060F0001 diode disk module
 -
ABB 5SDF0860H0003 Gate Cut off Thyristor Module
-
 ABB KUC720AE01 Industrial High Frequency Control Module
 -
 ABB KUC720AE - High Performance Industrial Control Module
 -
ABB UFC718AE01 high-performance main circuit interface
-
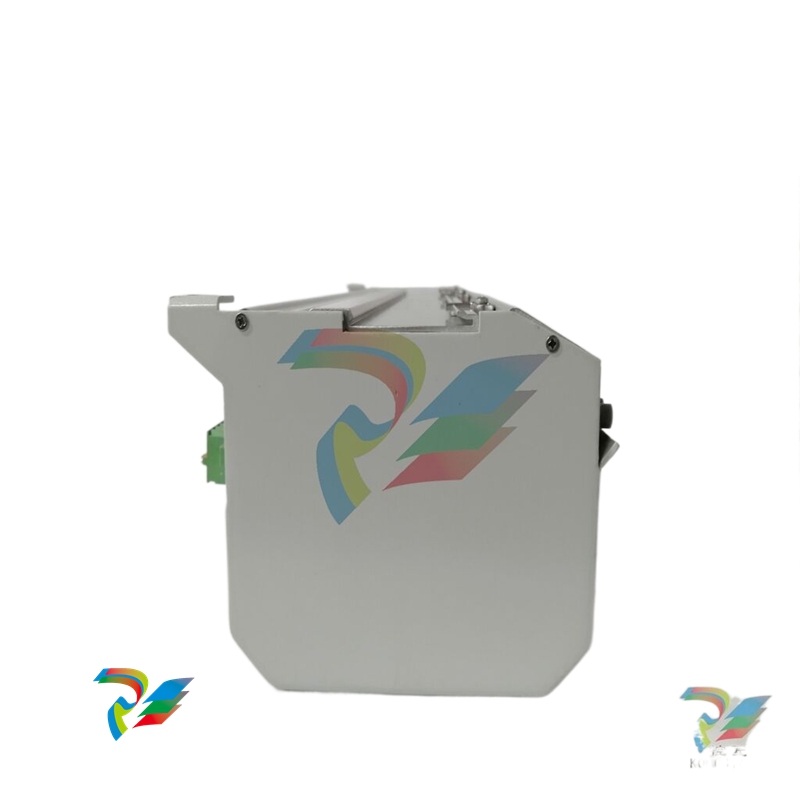 ABB 5SHX2645L0004 Integrated Gate Converter Thyristor
 -
 Xycom 2000-KB1 94687-001 keyboard
 -
 Xycom 141452-001 5-slot amplifier card 141452001
 -
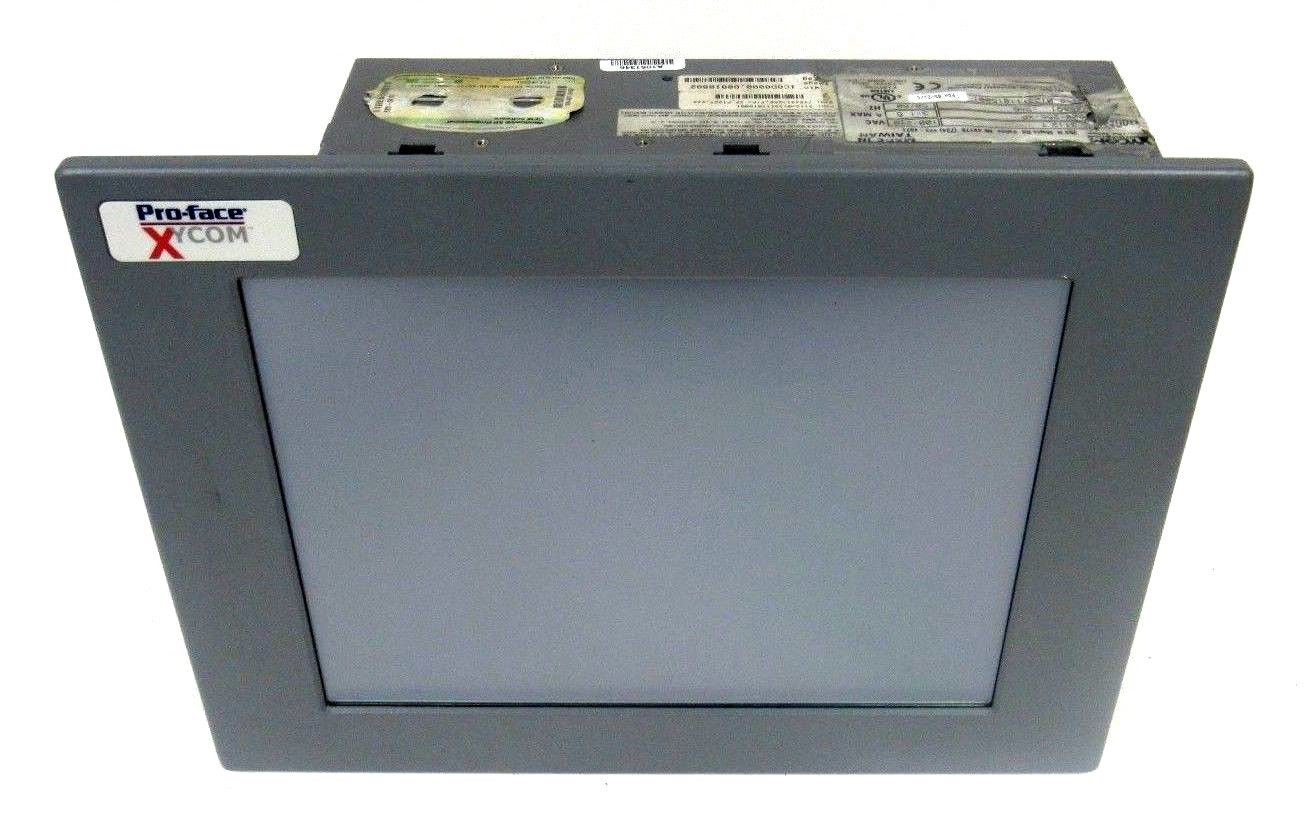
 Xycom 5015T/R2, Pro-face LCD 15" Monitor
 -
 Xycom 95212B-001 Module Circuit Board Card 95213-007 8503 PCB PWA Programmable Logic Controller
 -
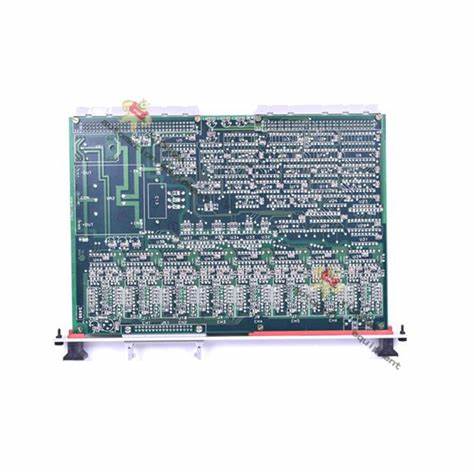
 Xycom XVME-957 71957C-001 Circuit Board
 -
 XYCOM 99157-001 Circuit Board
 -
 Xycom 4115 T Operator Interface Panel 100-240v-ac
 -
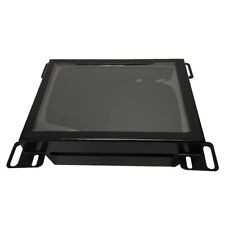 Xycom 2005 CRT Direct REPLACMENT LCD with Cable Kit
 -
 Xycom 4850 LCD monitor upgrade with cable kit 12 inches
 -
 Xycom 4810A 9-inch CRT LCD monitor upgrade
 -
ABB KOFA12D3 Indoor current transformers
-
.jpg) WOODWARD ProAct Positioner (Flex I/O)
WOODWARD ProAct Positioner (Flex I/O) -
.jpg) WOODWARD ProAct Positioner (16 pin), 3rd Generation
WOODWARD ProAct Positioner (16 pin), 3rd Generation -
 WOODWARD ProAct 75 Speed Control ( 1st Generation)
 -
.jpg) WOODWARD R-Series Actuators
WOODWARD R-Series Actuators -
.jpg) WOODWARD F-Series Positioners
WOODWARD F-Series Positioners -
 WOODWARD DVP Digital Valve Positioner
 -
.jpg) WOODWARD GSOV25HT Gas Fuel Shutoff Valve, 2.0”Flange
WOODWARD GSOV25HT Gas Fuel Shutoff Valve, 2.0”Flange -
.jpg) WOODWARD GSOV80 Gas Fuel Shutoff Valve, 2.0” Flange
WOODWARD GSOV80 Gas Fuel Shutoff Valve, 2.0” Flange -
 WOODWARD USOV Universal Shutoff Valves
 -
.jpg) WOODWARD LSOV25 Liquid Fuel Shutoff Valve
WOODWARD LSOV25 Liquid Fuel Shutoff Valve -
 WOODWARD LQ25 Standard Valves
 -
WOODWARD LQ6 Liquid Fuel Valve Actuator with On-board Driver
-
.jpg) WOODWARD GS50 Gas Fuel Valve Actuator with On-board Driver
WOODWARD GS50 Gas Fuel Valve Actuator with On-board Driver